A Day Exploring Wrightwood, CA

Rachel By Rachel1 min read448 views

Yesterday we visited Wrightwood, CA to go hiking and sightseeing.

Wrightwood Welcome Sign.

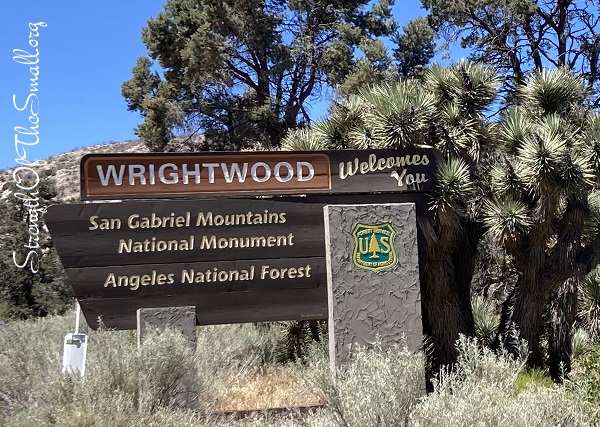
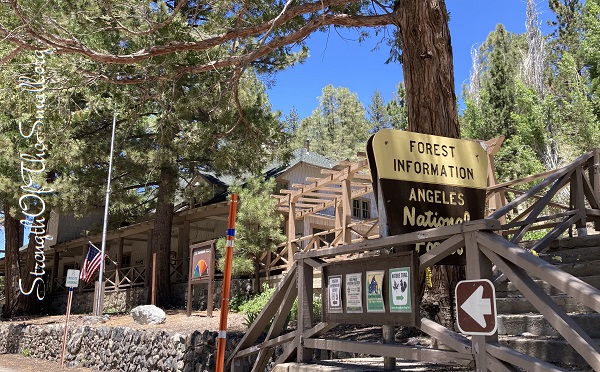
We stopped by The Big Pines Visitor Center to get information.

The Big Pines Visitor Center is a historical building built in 1924. It is open Mondays through Fridays, from 8:30 a.m. to 4:00 p.m, and you can obtain National Forest Adventure Passes, Campfire Permits, and much more. There are two hiking sites: the Blue Ridge Trail which is across the road and Big Pines Nature Trail which is above the visitor center building. Restrooms are across the road.

The Big Pines Information Station.
The Big Pines Visitor Information Guide Board.

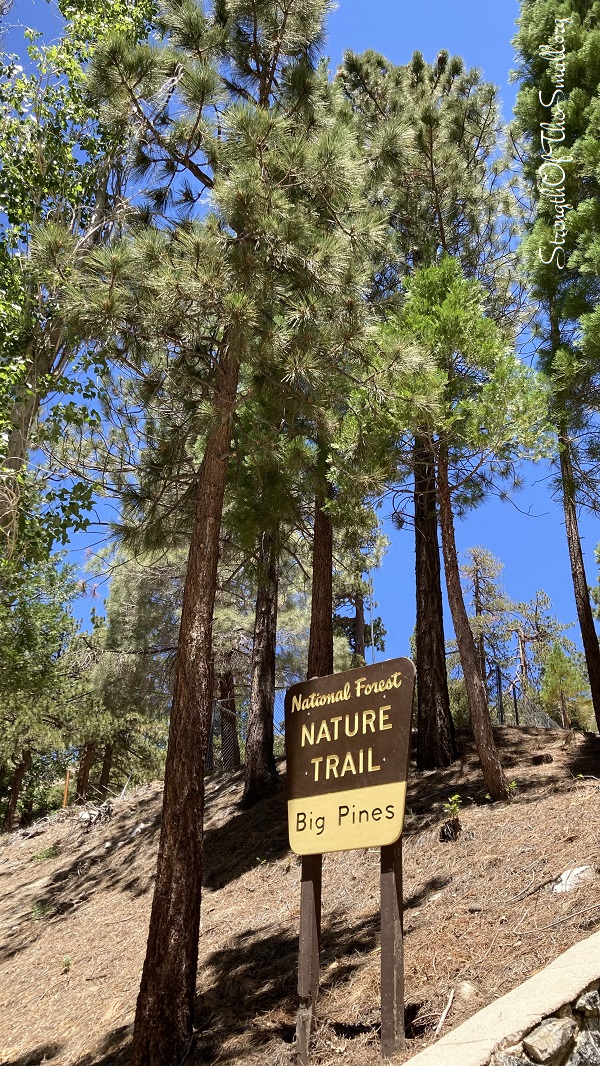
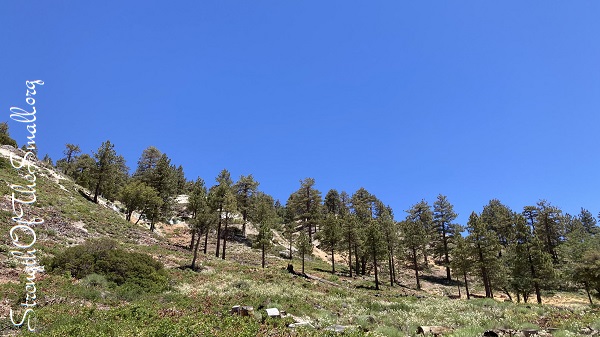
The start of the Nature Trail is above the staircase. The walk is quite simple despite a few steep areas. After a certain point, you can’t go further due to the possibility of encountering a Mountain Lion.

Nature Trail Sign.

Due to the extreme weather, we did not venture on the Blue Ridge Trail.

Nature Trail.
Nature Trail.

There is a sitting area across the road. It’s next to the public restrooms and the parking leading to the Blue Ridge Trail.

Sitting Area across The Big Pines Information Station.

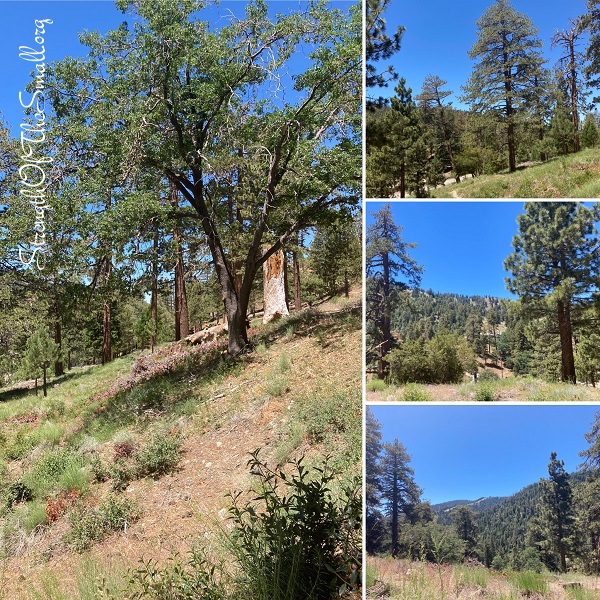
While hiking, we spotted a few native plants on our way up:

Native Plants.

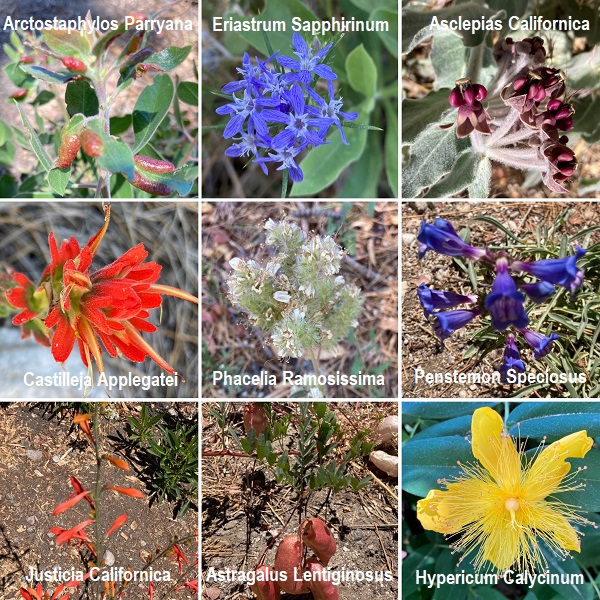
Arctostaphylos Parryana (also known as Parry Manzanita), Eriastrum Sapphirinum (also known as Sapphire Woollystar), Asclepias Californica (also known as California Milkweed), Castilleja Applegatei (also known as Applegate’s Indian Paintbrush ), Phacelia Ramosissima (also known as Branching Phacelia), Penstemon Speciosus (also known as Royal Penstemon), Justicia Californica (also known as Chuparosa), Astragalus Lentiginosus (also known as Freckled Milkvetch), and Hypericum Calycinum (also known as Creeping St. John’s Wort).

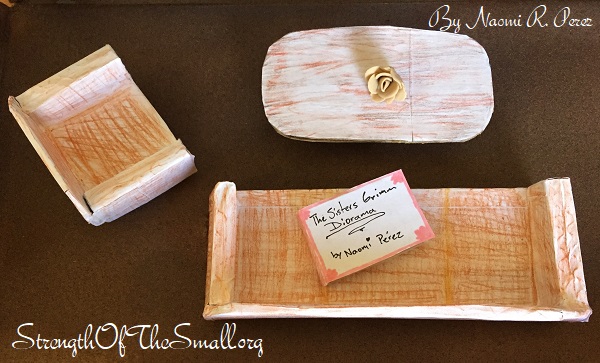
We wrapped up our trip by visiting Alice’s Vintage Cottage.

DIY: Gnome Keychain

Rachel By Rachel1 min read480 views

Last week, my mom handed a set of house keys to my brother and I. She said we are responsible kids and are ready to have our own set of house keys.

Today my brother and I sculpted some gnome keychains to dress up our house keys.

Gnome Keychain.

We constructed our gnomes using polymer clay.

Gnome Keychains.

Below is the finished product after the baking was completed.

Gnome Keychains.

If you need instructions on how to make one, click here.

DIY: Shoebox Diorama

Rachel By Rachel1 min read842 views

This month’s project was to create a shoebox diorama of an important scene from a book.
I chose a scene from The Sisters Grimm series. This is a very simple and fun project that requires a lot of cutting, assembling, and gluing.

Shoebox Diorama.

Materials/Tools Needed:

  • Shoe Box
  • Pencils
  • Markers
  • Craft paper
  • Cardboard
  • Scissors
  • Elmer’s glue
  • Spray Paints
  • Precision Knife/Blade

Step by step:

  • Get a shoe box, spray paint the interior if you wish and set aside
  • With a scissor or precision blade, cut out small pieces of cardboard and craft paper to make mini books. Use Elmer’s glue to hold the pieces together
  • Repeat step two to create picture frame. You can draw the picture on craft paper before or after gluing it onto the cardboard. We found it easier to draw the picture and then glue it
  • With the precision blade, cut out cardboard pieces to make tables, couches, side tables, etc.
Shoebox Diorama.
Shoebox Diorama.
Shoebox Diorama.

I had a lot of fun working on this project.

DIY: Character 3D Model

Rachel By Rachel3 min read864 views

One of my newly found favorite books are The Sister Grimm series. When we were given an assignment last December to make a 3-D Model of the main character of any book of our choice, I immediately thought of Puck, a fairy in The Sisters Grimm series. Puck is a four thousand year old fairy, who decided to remain as an eleven year old boy with a shabby appearance. He is white with blond hair and green eyes, and goes by the alias of The Trickster King. He enjoys pulling pranks on everyone, especially on Sabrina Grimm, and has a huge ego. He thinks of himself as the ultimate villain even though he is kindhearted.

Puck 3D Character.

Materials/Tools Needed:

  • Clay (assorted)
  • Aluminum Foil
  • Wood (to stand the character)
  • Krazy Glue (to glue the feet onto the wood, wings, and sword)
  • Wire
  • Wire Cutters
  • Pliers (to twist the wire)
  • Power Drill and Drill Bits (for the holes on the wood)
  • Popsicle stick (for the wooden sword)
  • Precision Knife/Blade

Step by step:

  • Using a wire, create a stick figure body(without a head)
  • Cut tiny strips on aluminum foil and wrap around the wire to give it thickness. Try and give it the thickness that you need so that you do not use too much clay
  • Flatten some clay and start wrapping around the figure (clothes, shoes, and other accessories). We started with the neck area, then the shirt, pants and then hands and shoes. We used the wire exposed at the neck to hold it while applying the clay and shaping it
  • Shape the head, give it hair, eyes, ears, nose, and stick it onto the wire (neck)
  • Cut 2 pieces of wire for the wings and wrap them in clay. Leave the tips exposed since they will get inserted into the character’s back and glued in place
  • Bake in oven for about 25 minutes at 275 degrees F
  • Let clay cool completely
  • Remove the wire stand and touch up any defects. Make the wooden sword using the popsicle stick and cut to size. We cut the handle and glued the sword on the top part of the hand and part of the hilt on the bottom part to make it look like he is holding it.
  • Use the drill to make 2 holes onto the wood base, 1 for each leg. Cut 2 small pieces of wire and insert them onto the holes with part of it sticking out. Drill a small hole on the bottom of each foot making sure they align to the base. Apply krazy glue on the wood and set the feet. Hold in place until the glue sets. Do the same for the wings
Puck 3D Character.

The wire holding the character was to help hold all the parts in place while it was baking in the oven (accident prevention).

Puck 3D Character.

The wooden sword and base were placed last, after the baking was completed.

Puck 3D Character.

I enjoy crafting and working with my hands. This was a fun project to do with the help of my family, and the best part was sculpting the hair.

DIY: Hawaii State Float

Rachel By Rachel1 min read3.7K views

Today I completed my State Float Project and I learned a lot about the beautiful State of Hawaii. I used materials I found around the house and some from my previous school projects.

Hawaii State Float.

Materials/Tools Needed

  • Shoe Box
  • Craft paper
  • Sand
  • Scissors
  • Synthetic Palm Trees
  • Rocks/Flat Stones
  • Toothpick (for the flag and umbrella)
  • Elmer’s glue
  • Spray Paints
  • Popsicle sticks/Skewers
  • Plastic Ocean Creatures (or cutouts from drawings or Magazines)

Step by Step (for this project):

  • Spray paint your shoe box (we used blue for sea, brown for beach and green for land)
  • Decorate your craft papers before securing them onto the box using Elmer’s glue
  • Use Popsicle sticks or Skewers to keep the edges of the paper craft straight
  • For the sand I applied some glue and sprinkled sand all around
  • I set the scenery to make it look like a fancy beach
Hawaii State Float.

The best part of this project was making the paper umbrella and the paper beach lounger.

Hawaii State Float.

Et voilà! My Hawaii State Float Project is complete. Now unto my video presentation!