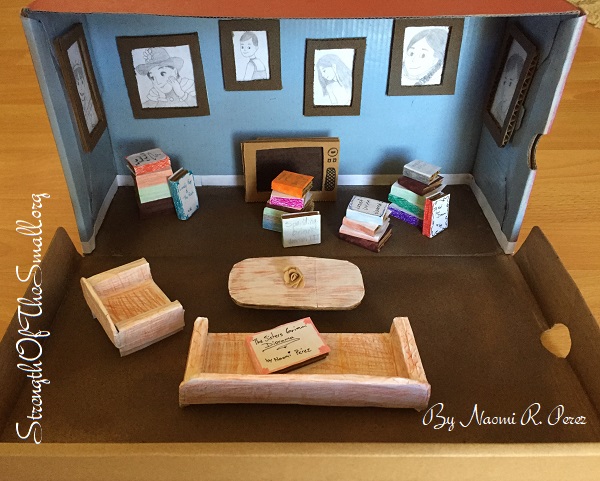
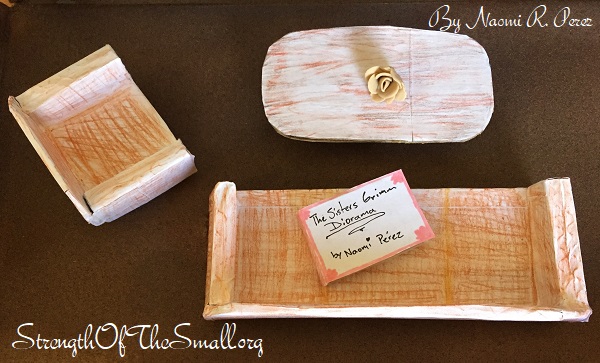
This month’s project was to create a shoebox diorama of an important scene from a book.
I chose a scene from The Sisters Grimm series. This is a very simple and fun project that requires a lot of cutting, assembling, and gluing.
Shoebox Diorama.
Materials/Tools Needed:
Shoe Box
Pencils
Markers
Craft paper
Cardboard
Scissors
Elmer’s glue
Spray Paints
Precision Knife/Blade
Step by step:
Get a shoe box, spray paint the interior if you wish and set aside
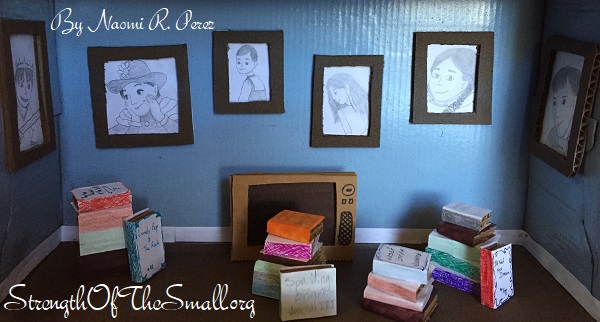
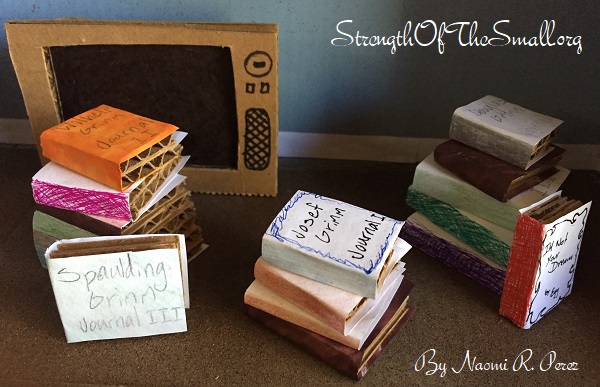
With a scissor or precision blade, cut out small pieces of cardboard and craft paper to make mini books. Use Elmer’s glue to hold the pieces together
Repeat step two to create picture frame. You can draw the picture on craft paper before or after gluing it onto the cardboard. We found it easier to draw the picture and then glue it
With the precision blade, cut out cardboard pieces to make tables, couches, side tables, etc.
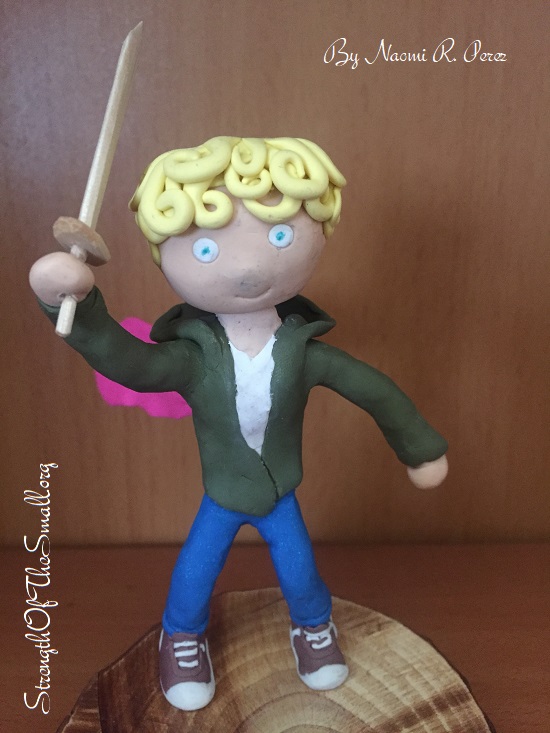
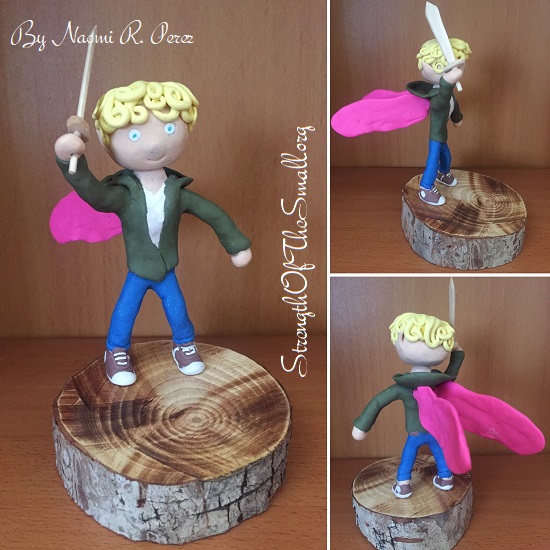
One of my newly found favorite books are The Sister Grimm series. When we were given an assignment last December to make a 3-D Model of the main character of any book of our choice, I immediately thought of Puck, a fairy in The Sisters Grimm series. Puck is a four thousand year old fairy, who decided to remain as an eleven year old boy with a shabby appearance. He is white with blond hair and green eyes, and goes by the alias of The Trickster King. He enjoys pulling pranks on everyone, especially on Sabrina Grimm, and has a huge ego. He thinks of himself as the ultimate villain even though he is kindhearted.
Puck 3D Character.
Materials/Tools Needed:
Clay (assorted)
Aluminum Foil
Wood (to stand the character)
Krazy Glue (to glue the feet onto the wood, wings, and sword)
Wire
Wire Cutters
Pliers (to twist the wire)
Power Drill and Drill Bits (for the holes on the wood)
Popsicle stick (for the wooden sword)
Precision Knife/Blade
Step by step:
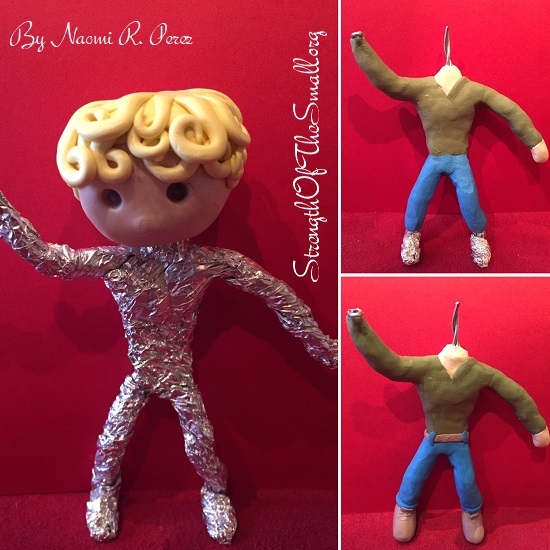
Using a wire, create a stick figure body(without a head)
Cut tiny strips on aluminum foil and wrap around the wire to give it thickness. Try and give it the thickness that you need so that you do not use too much clay
Flatten some clay and start wrapping around the figure (clothes, shoes, and other accessories). We started with the neck area, then the shirt, pants and then hands and shoes. We used the wire exposed at the neck to hold it while applying the clay and shaping it
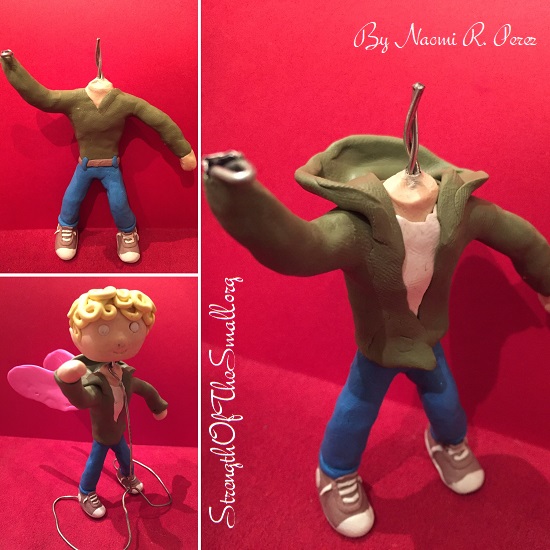
Shape the head, give it hair, eyes, ears, nose, and stick it onto the wire (neck)
Cut 2 pieces of wire for the wings and wrap them in clay. Leave the tips exposed since they will get inserted into the character’s back and glued in place
Bake in oven for about 25 minutes at 275 degrees F
Let clay cool completely
Remove the wire stand and touch up any defects. Make the wooden sword using the popsicle stick and cut to size. We cut the handle and glued the sword on the top part of the hand and part of the hilt on the bottom part to make it look like he is holding it.
Use the drill to make 2 holes onto the wood base, 1 for each leg. Cut 2 small pieces of wire and insert them onto the holes with part of it sticking out. Drill a small hole on the bottom of each foot making sure they align to the base. Apply krazy glue on the wood and set the feet. Hold in place until the glue sets. Do the same for the wings
Puck 3D Character.
The wire holding the character was to help hold all the parts in place while it was baking in the oven (accident prevention).
Puck 3D Character.
The wooden sword and base were placed last, after the baking was completed.
Puck 3D Character.
I enjoy crafting and working with my hands. This was a fun project to do with the help of my family, and the best part was sculpting the hair.
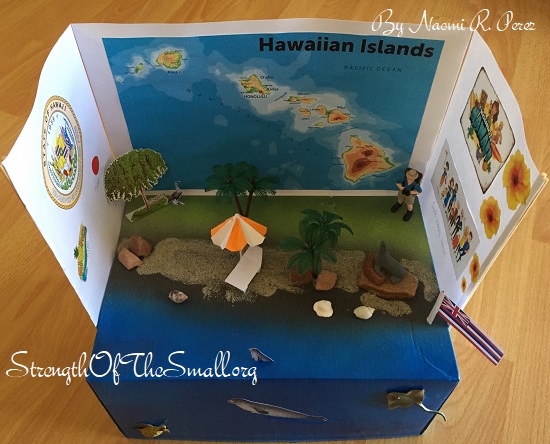
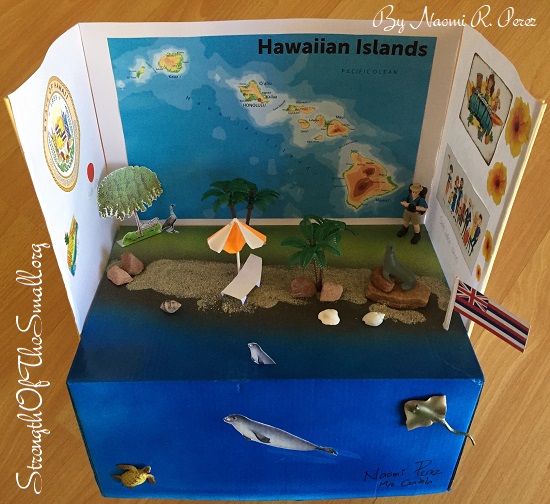
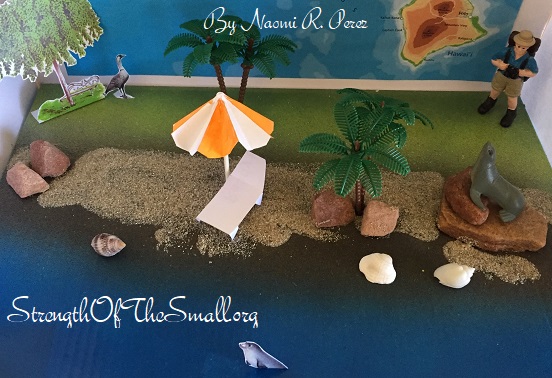
Today I completed my State Float Project and I learned a lot about the beautiful State of Hawaii. I used materials I found around the house and some from my previous school projects.
Hawaii State Float.
Materials/Tools Needed
Shoe Box
Craft paper
Sand
Scissors
Synthetic Palm Trees
Rocks/Flat Stones
Toothpick (for the flag and umbrella)
Elmer’s glue
Spray Paints
Popsicle sticks/Skewers
Plastic Ocean Creatures (or cutouts from drawings or Magazines)
Step by Step (for this project):
Spray paint your shoe box (we used blue for sea, brown for beach and green for land)
Decorate your craft papers before securing them onto the box using Elmer’s glue
Use Popsicle sticks or Skewers to keep the edges of the paper craft straight
For the sand I applied some glue and sprinkled sand all around
I set the scenery to make it look like a fancy beach
Hawaii State Float.
The best part of this project was making the paper umbrella and the paper beach lounger.
Hawaii State Float.
Et voilà! My Hawaii State Float Project is complete. Now unto my video presentation!
Hello! Good day everyone!
It feels good to post something here after such a long time.
Distance learning has been okay, I’ve been doing all my work while still finding time to hang out with my family. I listen to my teachers and ask questions when needed to maintain my A’s. I’ve also been reading a lot of Harry Potter lately. It’s really interesting seeing how many times he can get in trouble and almost die every school year by not listening to his teachers.
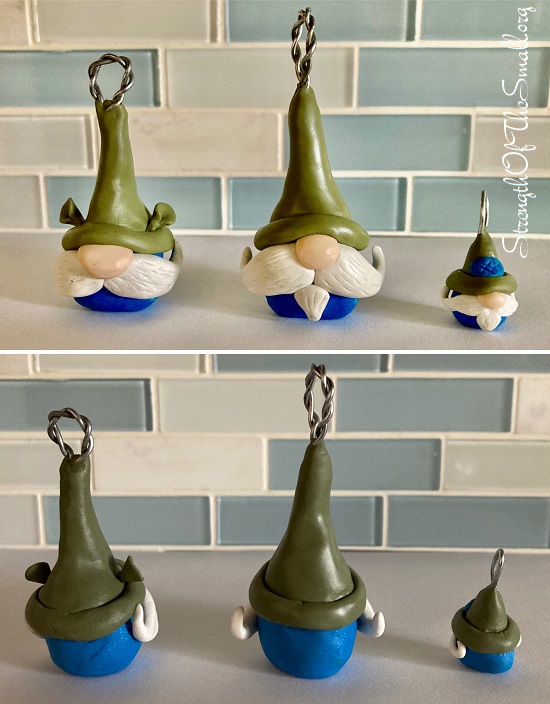
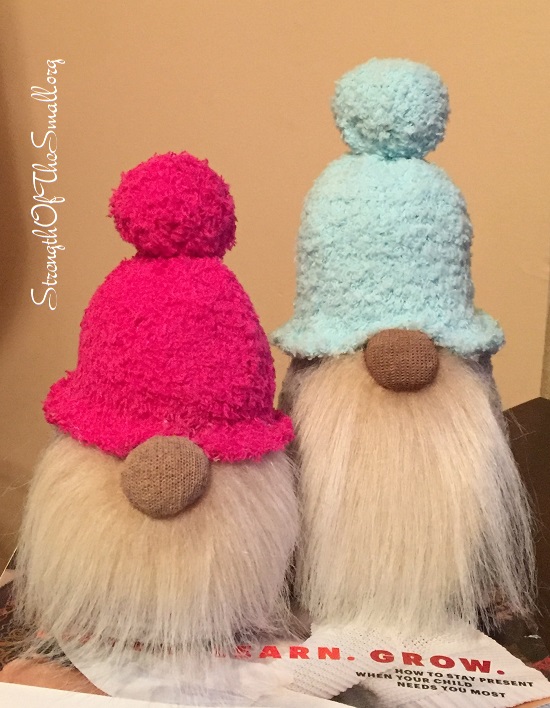
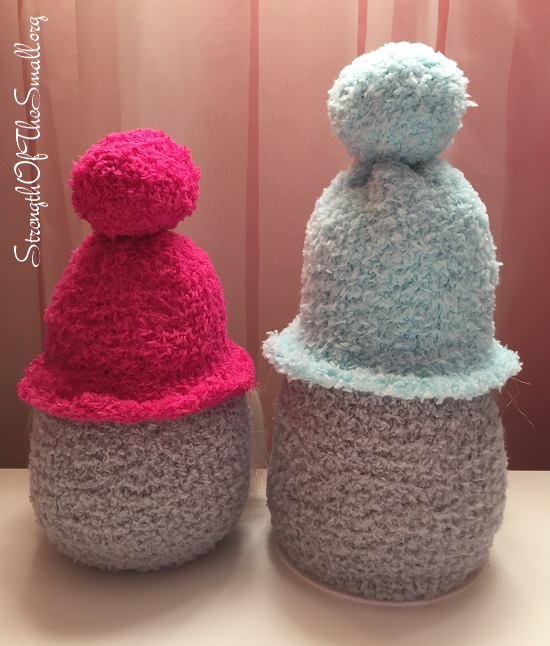
This afternoon, my mom helped me and my brother create our own gnomes using supplies we already had on hand.
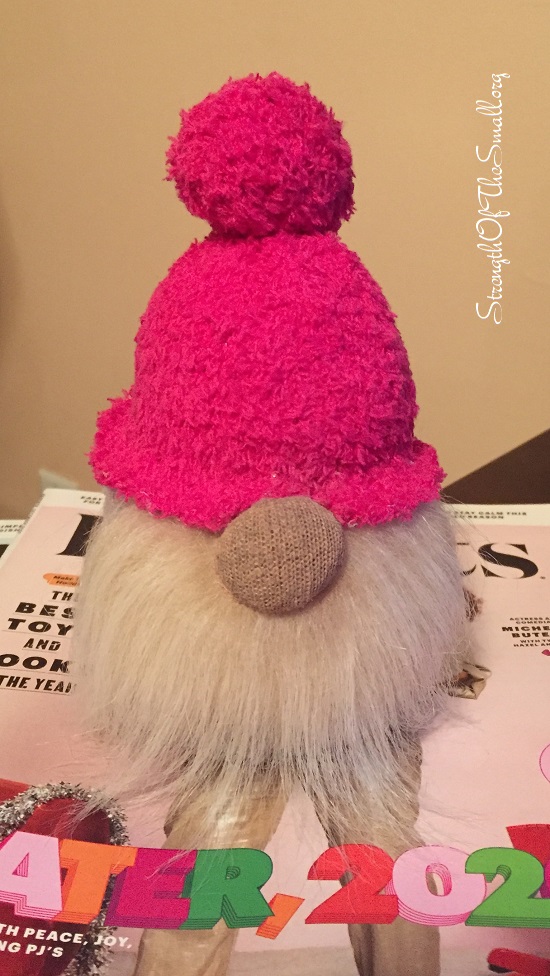
Little Sister Gnome.
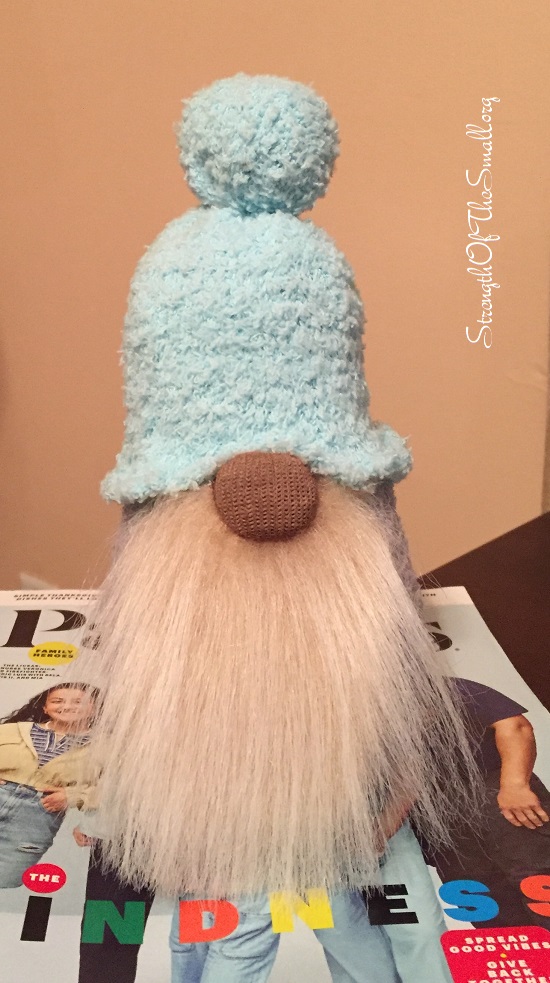
The second gnome with the longer beard is my brother’s. It’s taller than mine and has a blue hat.
Big brother Gnome.
Materials/Tools Needed
Scissors
Craft Fur
Hot Glue Gun and Glue Sticks
Socks (various colors) for the base body, the body and the hat
Cardboard (optional, to help the gnome balance)
Rice/Tiny Pebbles
Small Rubber band or Craft Rope/Twine
Eyeshadow Palette and a paint brush (for the nose)
Cotton Stuffing
Small Pom Pom balls
Step by Step (for this project):
Build the body. Get the first sock, cut it at the heel and fill it up with rice (or your filling of choice). Once you are satisfied with the size, get some twine or a rubber band and secure the opening of the sock.
For the nose, grab an area close to the top, to form the nose and secure it with some twine or a rubber band. Using your paint brush, choose a color from your eyeshadow palette for the nose.
Dress up the gnome. Get another sock and cut it slightly above the heel. Cover the gnome from the heel to the top and secure the opening with a glue gun.
Give it a beard. Get a piece of fur and shape it to your liking. Cut a small V shape at the top of the piece of fur so that the nose can fit through. Tuck the fur right under his nose and secure the area with a glue gun.
The beanie hat. Get your last sock and cut it on the heel. Get some cotton, stuff it in the toe area and secure it with some twine or a rubber band to create a small pom pom. Add a little cotton batting into the sock to give it shape and tuck it around the gnome’s head (above its nose) and secure it with a glue gun.