Repurposing

Wicker Wall Hanging Baskets

JM Perez By JM Perez1 min read1.1K views

I love wreaths and I have a couple for each season; however, I have been thinking about making some changes in the decor style. I thought about an item I have in every single space around the house, and the majestic wicker baskets came to mind. I have so many storage wicker baskets in the house, in various sizes and colors. They are really neat, great for displaying items, organizing as well as keeping  things out of sight. They are so versatile and make great accent pieces.

Not too long ago, I rekindled my love for wicker wall hanging baskets. I am enamored with the idea of stuffing them with flowers and hanging them on doors and walls, like the ones below:

Seaside Hanging Basket.
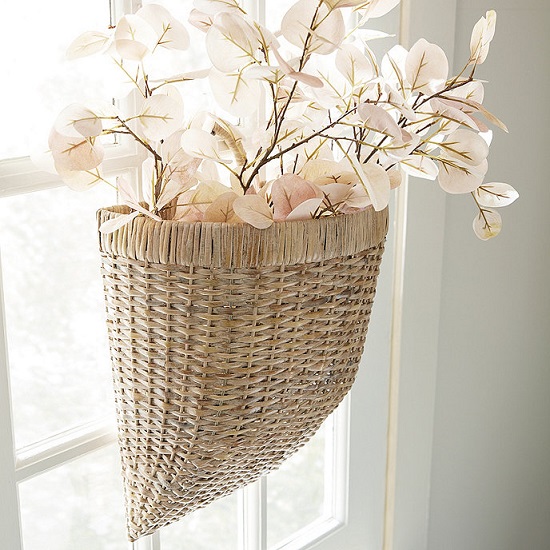
Image Source: BallardDesigns.com.
Aubrey Woven Hanging Basket.
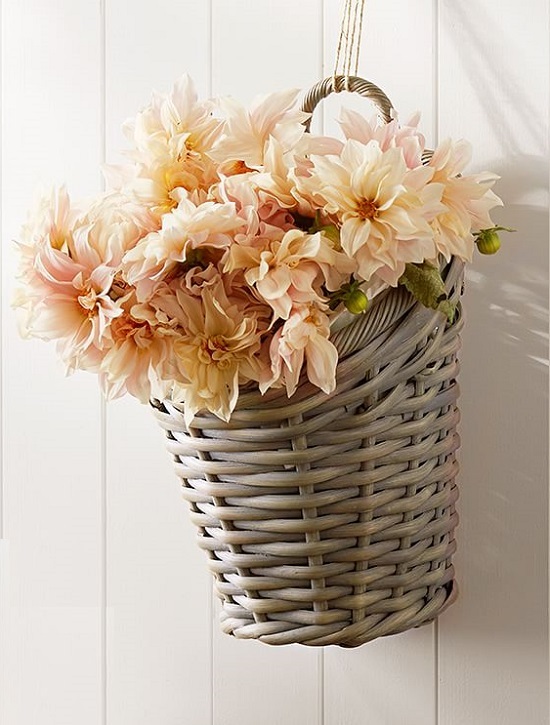
Image Source: PotteryBarn.com.
Dollar Store Hanging Flower Basket.
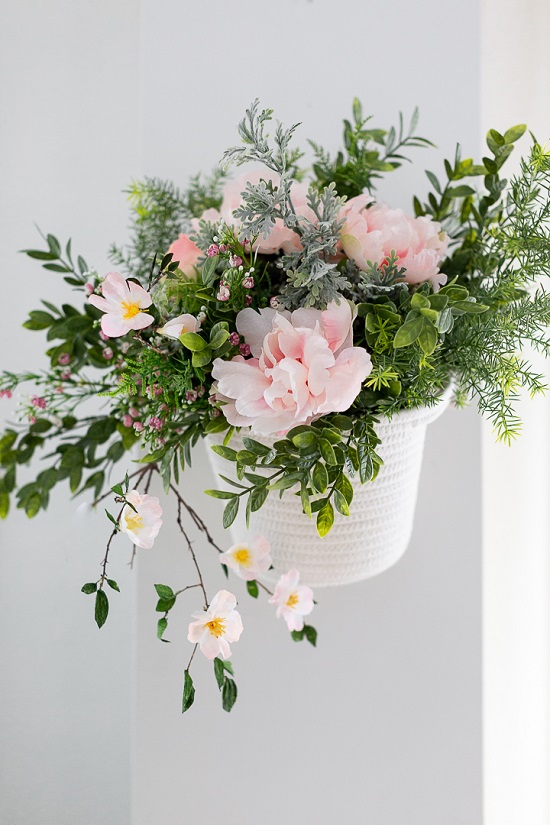
Image Source: ThePorchSwingStore.com.
Harvest Basket.
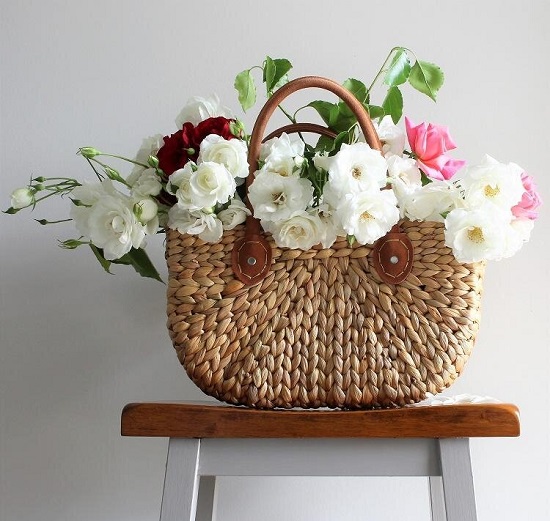
Image Source: HouseOfBloom.com.au.
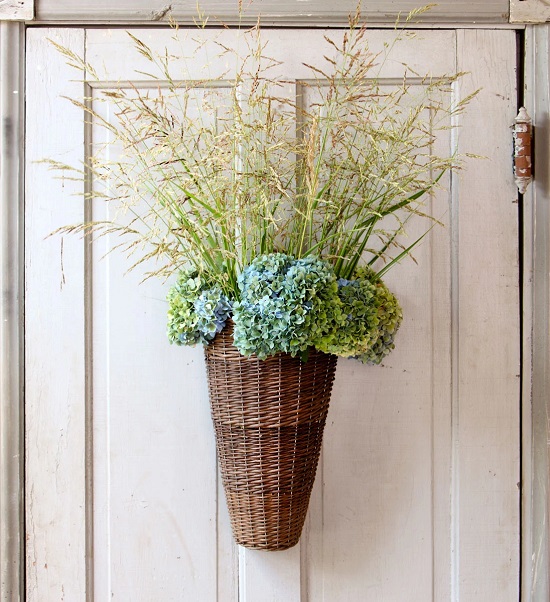
Willow Door Basket
Image Source: IronAccents.com
Horn Shape Willow Hanging Basket Planter.
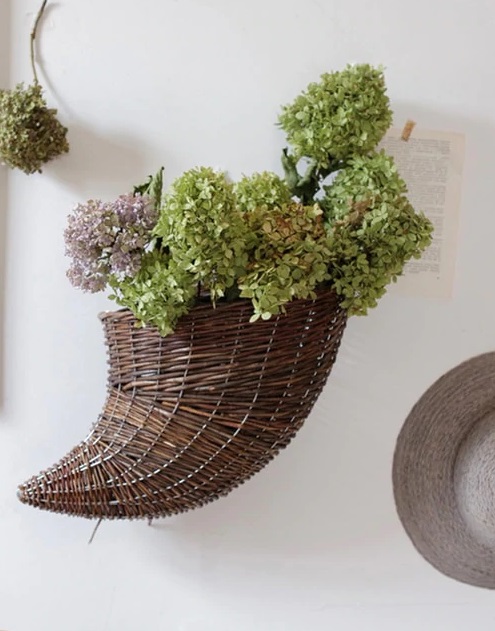
Image Source: RusticReach.com.
Spring Tobacco Wall Basket.
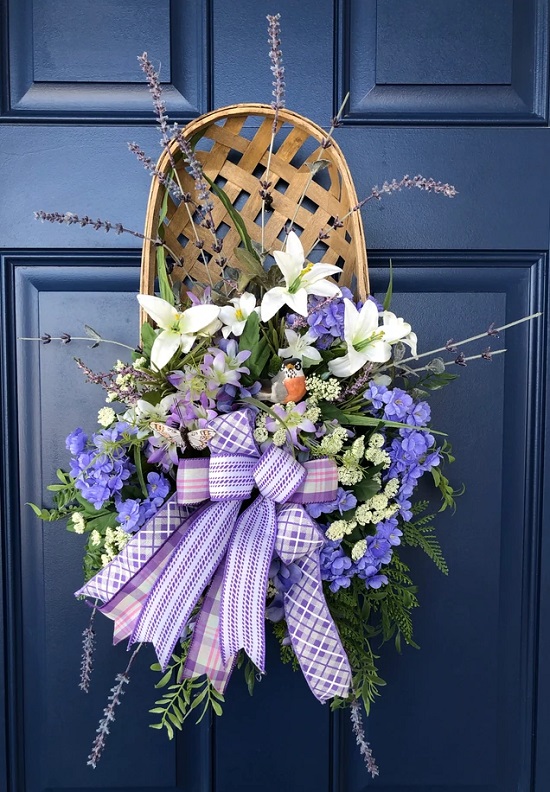
Image Source: KatsCreationsNMore.com.
Woven Hanging Wall Basket.
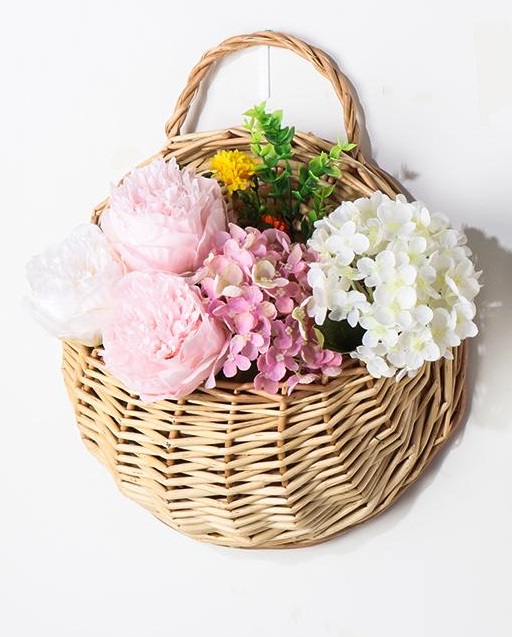
Image Source: ForDeal.com.
Christmas Tobacco Wreath Basket.
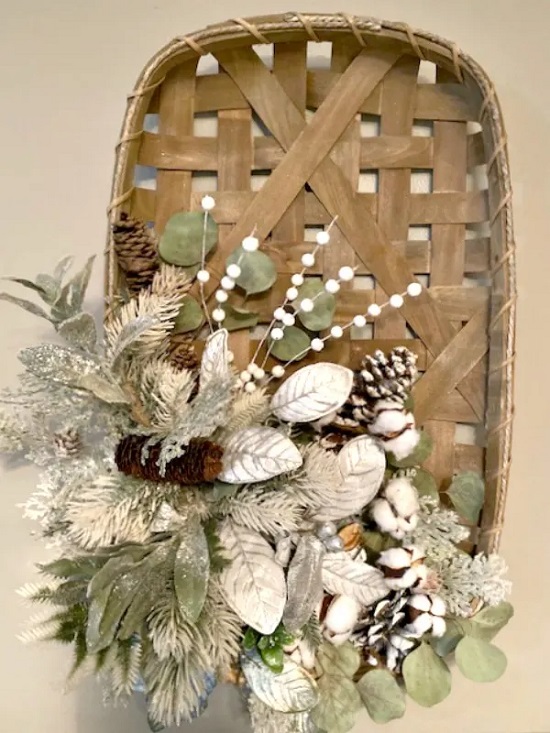
Image Source: OurCraftyMom.com.
Tobacco Basket Christmas Wreath.
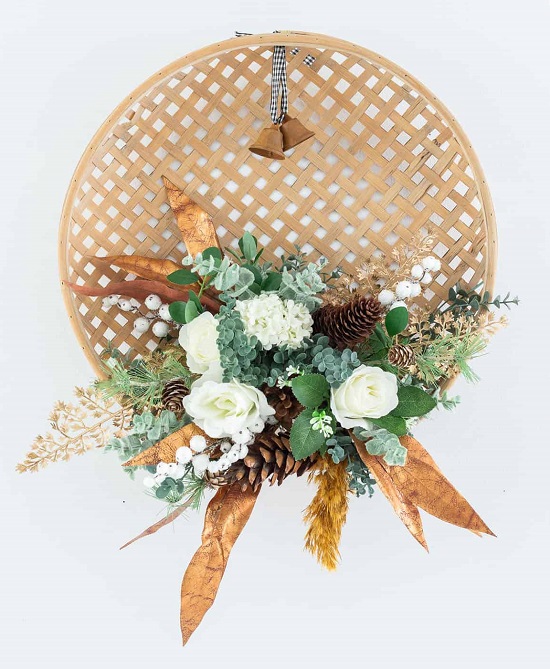
Image Source: SongBirdBlog.com.
Spring Wreath Basket.
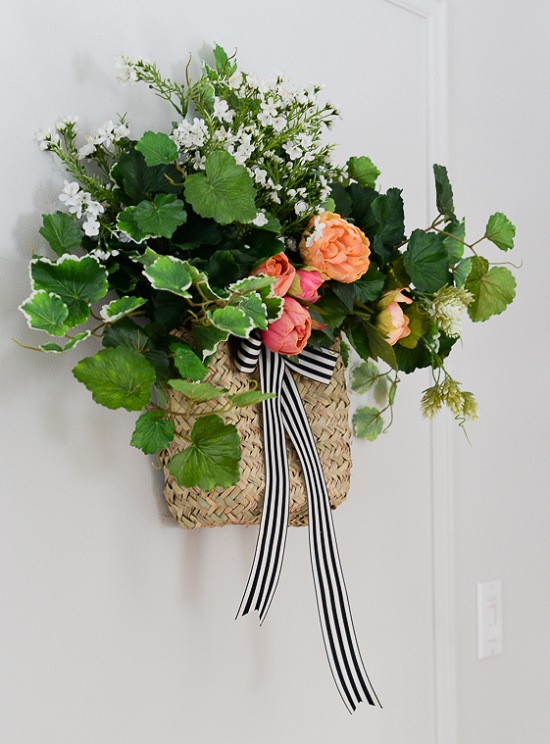
Image Source: RamblingRenovators.ca.
Bohemian Woven Wall Hanging Basket.
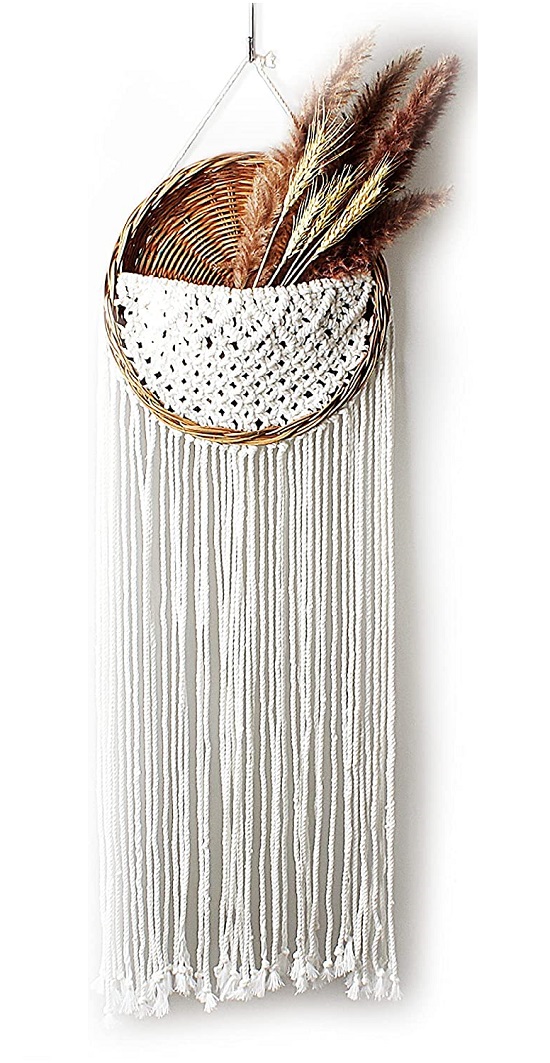
Image Source: Ubuy.co.id.
Spring Pansy Basket Door Wreath.
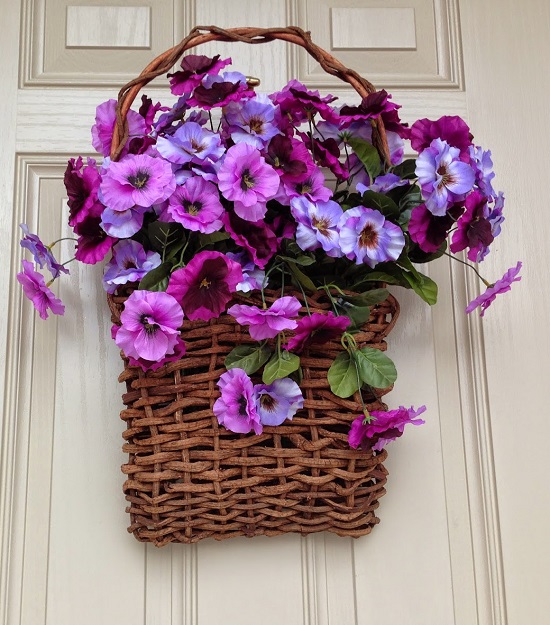
Image Source: PurpleHuesandMe.com.
Willow Wall Hanging Basket.
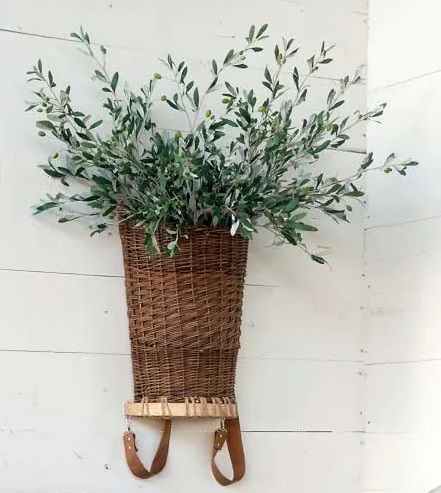
Image Source: AntiqueFarmHouse.com.
Coastal Hanging Basket.
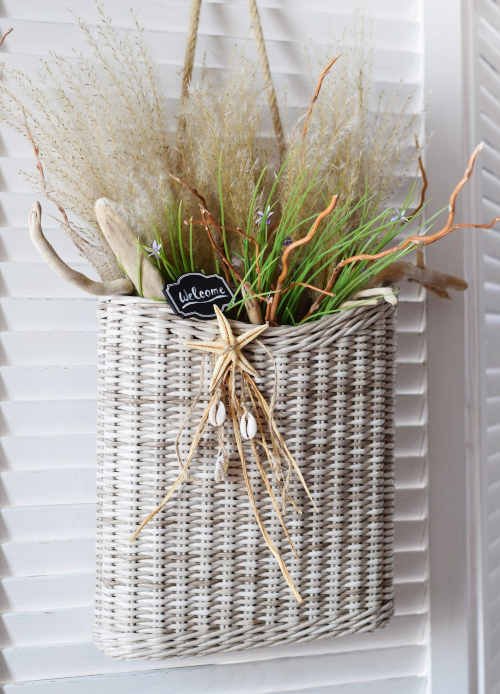
Image Source: Completely-Coastal.com.
Wall Mounted Hanging Basket.
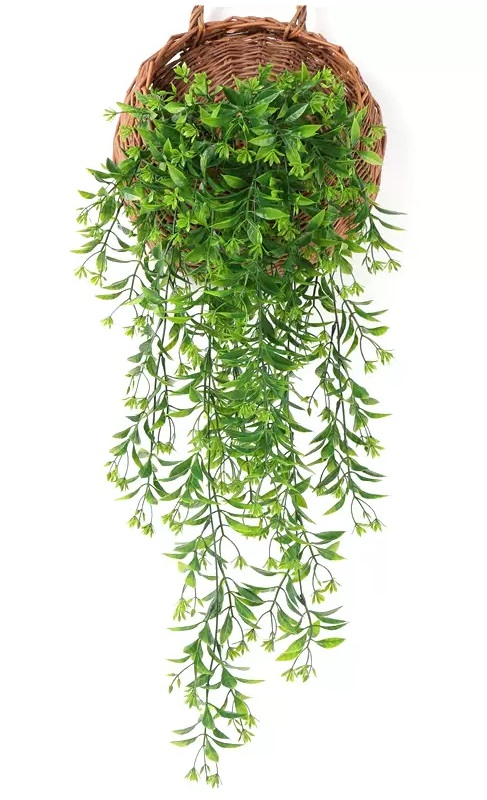
Image Source: DHGate.com.
Winter Wreath Basket.
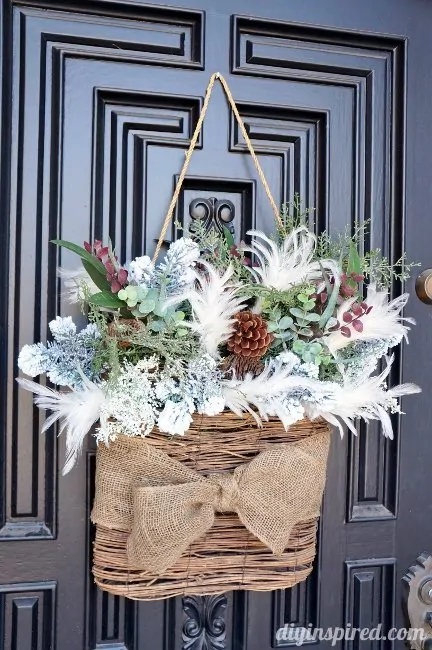
Image Source: DiyInspired.com.
Summer Wreath Peonies. Image Source: ModernGlam.
Basket Wreath.
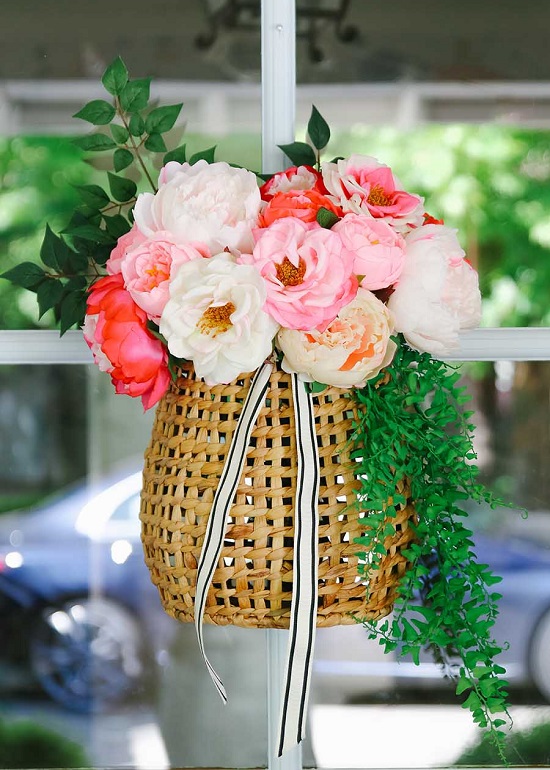
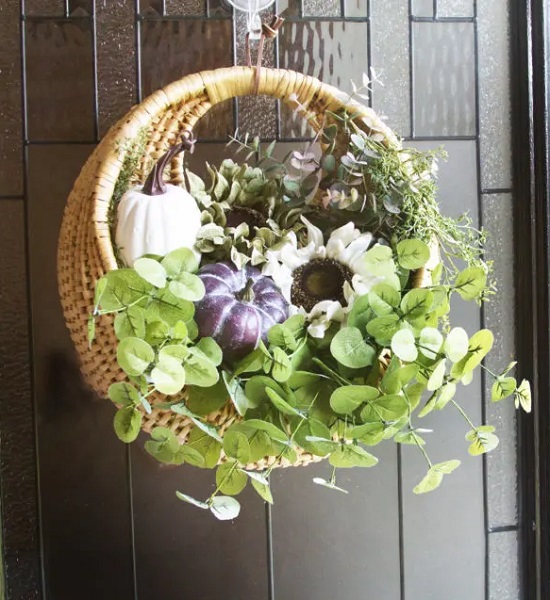
Image Source: CraftivityDesigns.com.
Woven Wicker Rustic Farmhouse Gray Washed Long Basket.
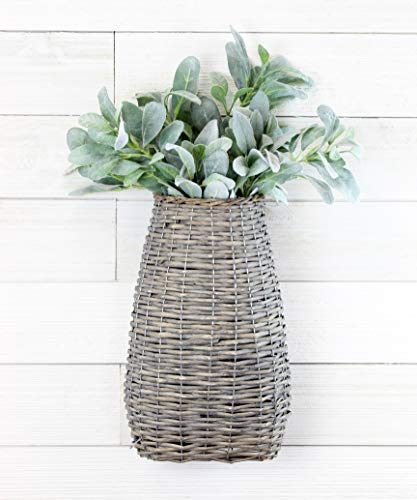
Image Source: WickerGuide.com.
Fall Wreath.
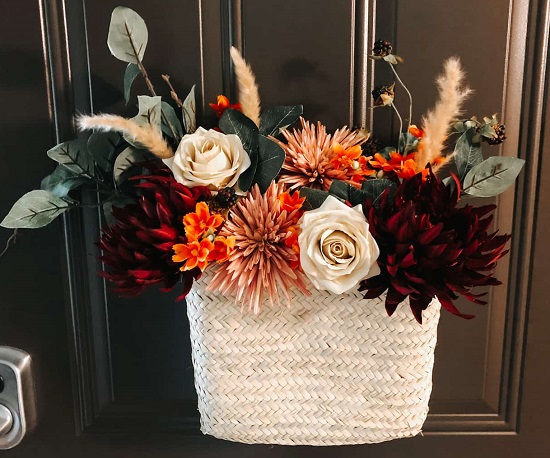
Image Source: ThatLemonadeLife.com.
Spring Tulip Wall Basket.
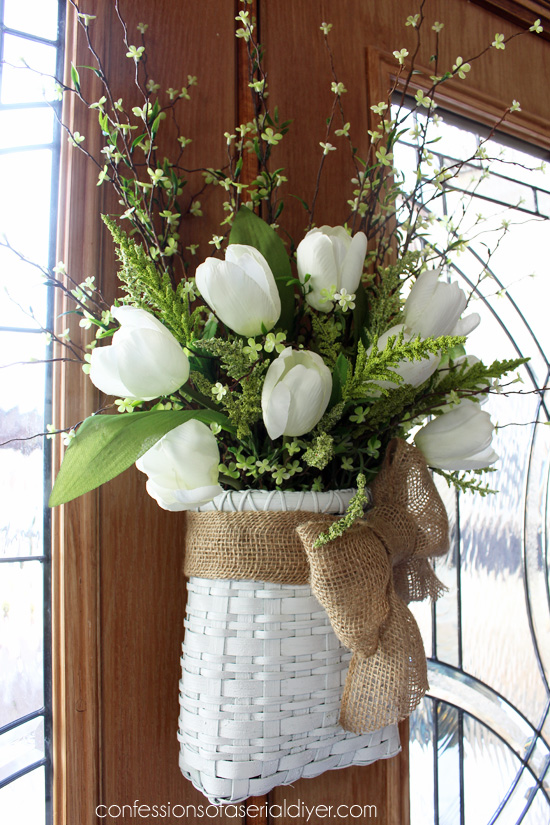
Image Source: ConfessionsAfASerialdiyer.com.
Fall Hanging Wicker Door Basket.
Image Source: InMyOwnStyle.com.
Fall Door Basket Wreath.
Image Source: ChatFieldCourt.com.
Willow Wall Basket w/Rope Bow
Image Source: InteriorDelights.net.
Weave Vine Mural Wall Basket.
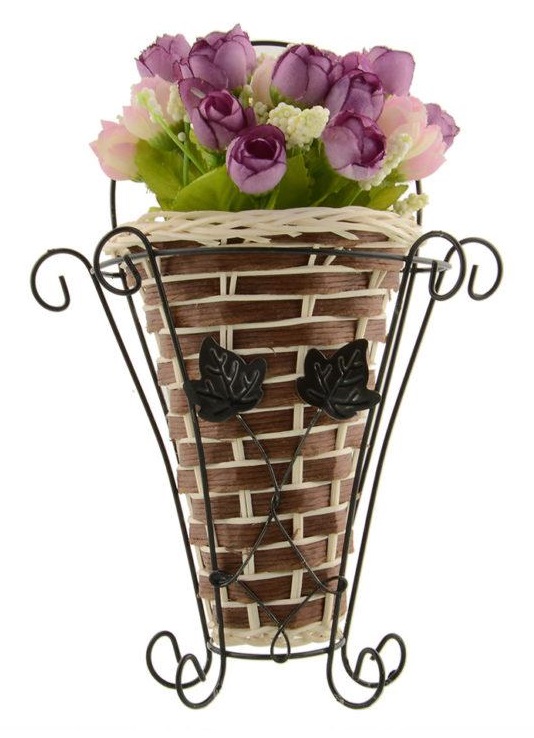
Image Source: Decoratorist.com.
Tobacco Basket Wreath.
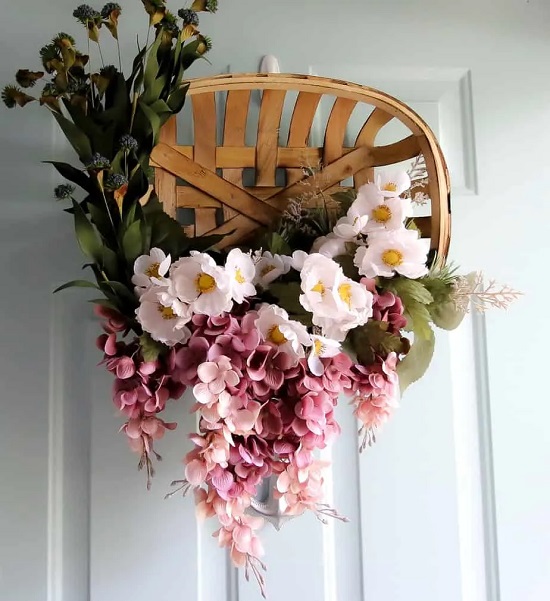
Image Source: CharlestonCrafted.com.
Wall Hanging Basket.
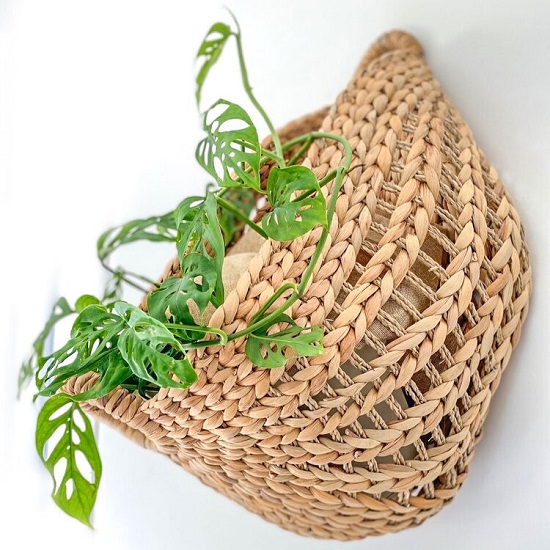
Image Source: MontaukCallala.com.
Handwoven Rattan Wicker Hanging Basket.
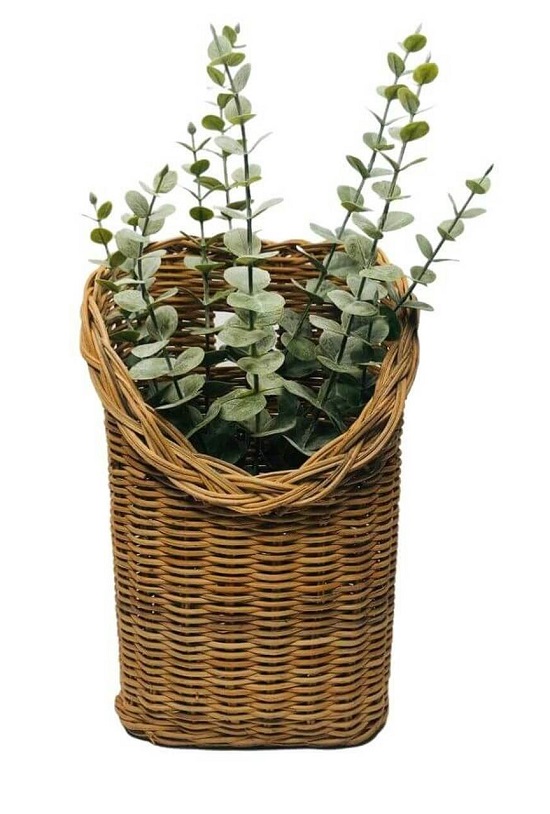
Image Source: TheNewEnglandTradingCompany.com.
Succulent Wall Hanging Basket Wreath.
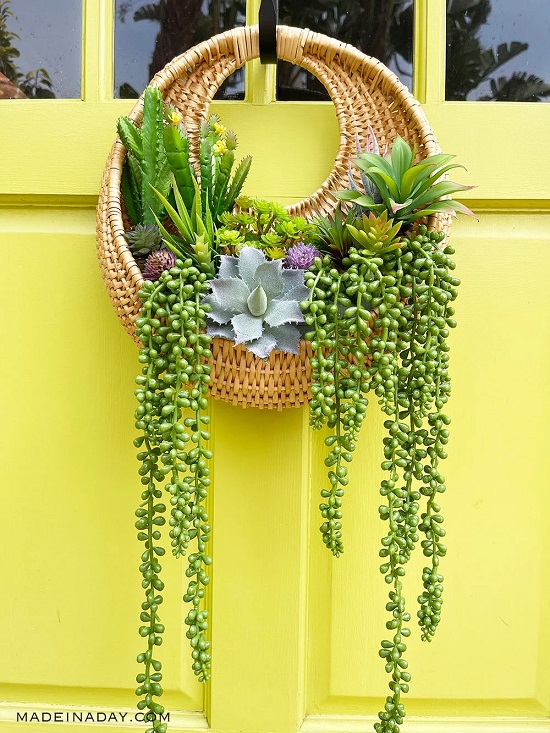
Image Source: MadeInaDay.com.
Frontal Door Wicker Wall Hanging Basket.
Image Source: geinlaean.cf.
Rattan Cone Wall Hanging Basket.
Image Source: Amazon.com.
Amish Woven Wicker Hanging Basket.
Image Source: AmishBaskets.com.

I hope you’ve enjoyed this post and found inspiration.

End of Year Beauty

JM Perez By JM Perez1 min read1.2K views

This will be one holiday season to remember.

The weather has been at its best all year long and I am very thankful for it all. Christmas was wonderful at our home yesterday and this morning, we have been blessed with more snow fall. We woke up to a sublime sight as everything was covered in white (our second snowfall of the year).

Doe and Buck.

Early in the morning after breakfast, I excitedly walked around the backyard with my phone, taking photos of this beautiful winter scenery. Personally, I am quite content with this amount of snow and I am really hoping that we wouldn’t get more of it.

Partial view of my backyard.

My daughter pointed out the palm tree on the picture below, stating that the weight of the snow on some of the fans has transformed the tree into a fancy dress. Can you see it?

Partial view of my backyard.

I love the view from my backyard, which is still a work in progress. I love how snow makes pretty much everything look beautiful, fresh, dreamy and magical.

Partial view of my front yard.

With one or two days of sunshine, the snow will be completely gone, revealing all the lovely green. Before that, we should be able to build a snowman this time around.

Plants covered in snow.

I hope everyone is staying warm and having a wonderful time this holiday season.

DIY: Bare Branch Bottle Tree

EPEngineer By EPEngineer1 min read717 views

Early March of this year, I cut off all the branches from our fruitless Mulberry tree.
The idea of re-purposing the branches came after having removed the leaves and smaller branches and noticing that the branches themselves resembled trees. It was also an alternative to disposing of them over time. We decided to use the bare branches as Bottle Trees (read all about it here).

Bare Branch Bottle Tree.

Materials/Tools Needed

  • Natural Tree Branches
  • Cement Bags/Mixing Tools
  • Shovel
  • Ropes
  • Glass Bottles

Step by Steps:

  • Cut some branches from a Tree
  • Smooth out the tips of the branches to slide the bottles in.
  • Using the shovel dig out a small hole about 12 to 16 inches deep and about 10 inches in diameter to bury the branch base. The bigger the branch the deeper the hole that will be needed.
  • Mix the cement making sure that you follow the mixing instructions on the bag.
  • Pour the cement into the hole and push the branch onto the cement to the desired dept.
  • At this point you will need to use the ropes to secure the branch in place so that the cement can dry.
  • Let the cement dry for 24 hours before removing the ropes.
  • Insert the bottles into the prepared branches and enjoy.
Bare Tree Branches.
Bare Tree Branches. (March 2014)

We decided to place the branches on both sides of a bench to create a beautiful sitting area. The effect is unique and we enjoy it immensely.

Inspire yourself or someone else this weekend with your creativity.

DIY: Solar Powered Jars

EPEngineer By EPEngineer1 min read738 views

Today we gave a facelift to a set of old solar lights.

DIY: Solar Jars.
DIY: Solar Powered Jars.

Materials/Tools Needed

  • Solar Lights
  • Glass Jars
  • Screw Driver
  • Small Screws
  • Wire
  • Pliers
  • Drill and Drill Bits

Step by Steps:

  • Remove lid from Jar and drill a hole in the center of the lid for the light bulb/LED bulb to go thru
  • Remove both stake and globe off the Solar Light top
  • Remove the lid off the jar and screw the lid onto the Solar Top making sure the screws do not damage the light electronics
  • Take the wire and loop the wire around the neck of the Jar. Use the pliers to tighten up the end, shape a handle, loop the end and tighten it using the pliers.
  • Reassemble the Jar, hang and enjoy.

DIY: RecycleBot

JM Perez By JM Perez1 min read2.5K views

This Month at my Son’s Elementary School, they are learning about recycling and taking care of the Planet. The kids were asked to make a RecycleBot out of any materials such as cans, boxes, bottles (glass and/or plastic), bottle caps, cardboard, electronics, metal, paper, eggs cartons, etc.

After looking around the house, he found a few recyclable materials that would work for his school project.

RecycleBot (Front).
RecycleBot (Front).
RecycleBot (Side).
RecycleBot (Side).

My Son found a small LED light that changes color at Kohl’s and has a wire attached to it with a switch at the end, to turn it on momentarily (pictured below).

RecycleBot (Back).
RecycleBot (Back).
RecycleBot (Front).
RecycleBot (Front).

Materials/Tools Needed:

  • Yogurt Cups
  • Ice cream Cups
  • Cardboard Pieces
  • Fishing Wire
  • Sports Drink Container
  • Spray Paint Cover

It was such a fun project which my Son completed with the assistance of his Father.