Though we are still in the midst of Spring, temperatures are beginning to soar.
Animals, birds, and critters alike are very active. A few weeks ago, we’ve noticed an increase of pigeons in the neighborhood. We are not sure if they suddenly got here, if someone perhaps is breeding them and/or intentionally feeding them; but I sincerely hope they do not become a nuisance.
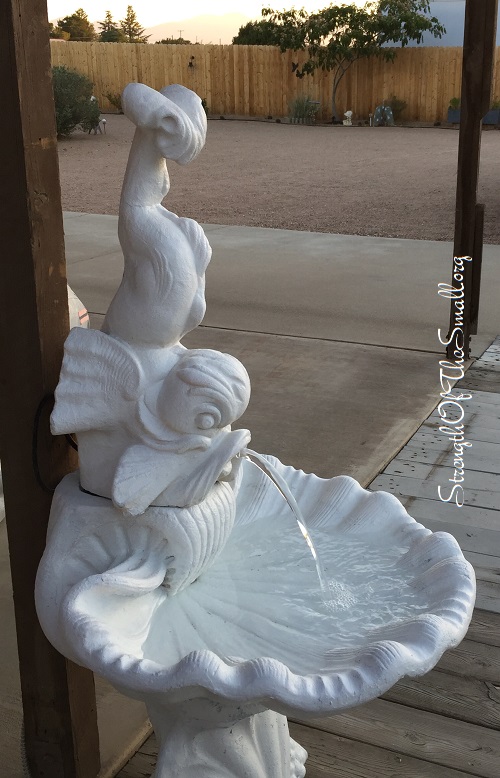
We cleaned and refilled all the Hummingbird feeders and we set up the Seashell water fountain in a semi-shaded area in the backyard to provide fresh drinking water for wildlife.
Fish Fountain with Scallop Shell Bowl.
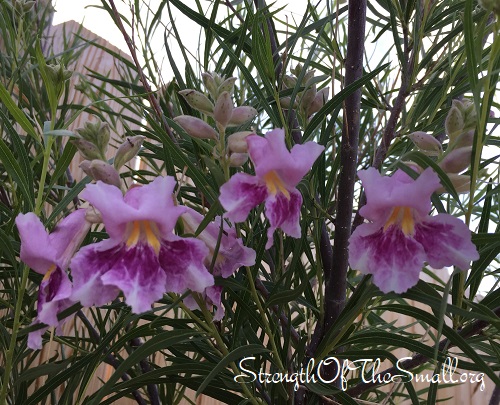
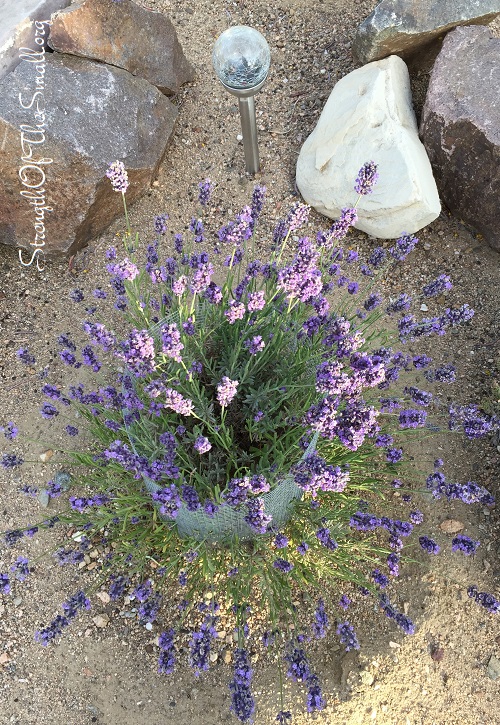
The gardens are lush and the plants are thriving; so there isn’t much to do in the garden, and the soaring temperature makes it a little hard to spend time outdoors as much as I would love to.
Most of the plants are covered in flowers such as the Wisteria Vine, Creeping Myrtle, “Madame Galen” Trumpet Vine, Gaura Lindheimeri, Daylilies, Calibrachoa, African Iri, Dwarf Cup Flower, Dwarf Myrtle, Mimosa Trees, Green Feathery Senna, Silvery Cassia, Snapdragon, Yellow Bird Of Paradise Bush, Salvia Greggii, Hameln Dwarf Fountain Grass, Tulbaghia Silver Lace, Breath of Heaven, etc.
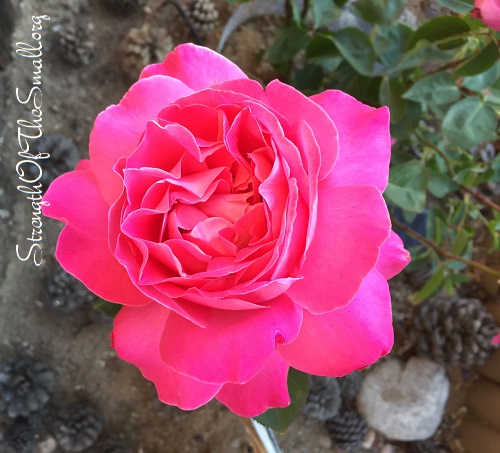
We added two more rose bushes to our collection: Perfume Delight Hybrid Tea Rose and Love At First Sight Hybrid Tea Rose.
Perfume Delight Hybrid Tea Rose.Love At First Sight Hybrid Tea Rose.
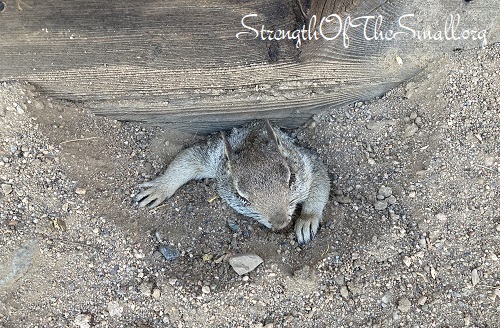
Gophers and Ground Squirrels have been very active, digging, gnawing, and causing damages on plants. We’ve set traps and I’ve been patrolling the entire property daily, and so far we’ve caught one Gopher and one Squirrel. At the far back of the property I’ve notice signs of Gopher activities around the Gopher plants, and we will be setting more traps in a day or two.
Trapped Squirrel. Didn’t dig enough and got stuck …
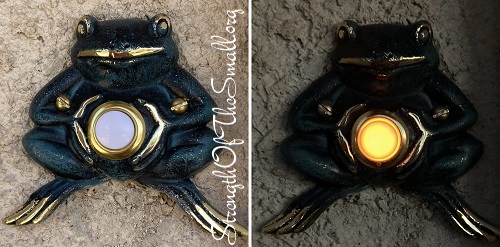
We finally replaced one of the wired doorbells.
Something cool about this doorbell is the fact that the button illuminates for evening visibility. If you removed the push button, it sits beautifully over the door’s peephole.
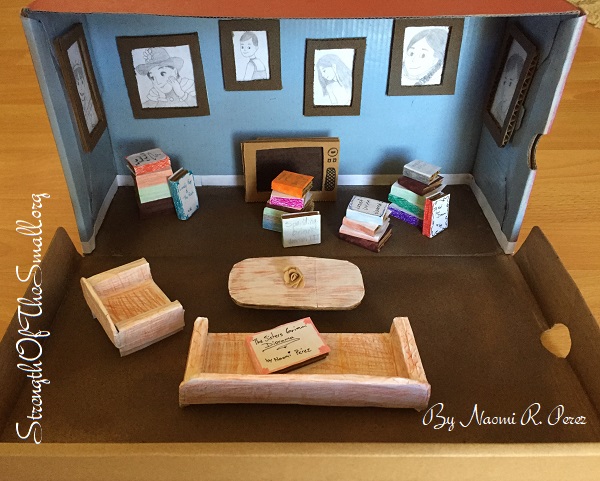
This month’s project was to create a shoebox diorama of an important scene from a book.
I chose a scene from The Sisters Grimm series. This is a very simple and fun project that requires a lot of cutting, assembling, and gluing.
Shoebox Diorama.
Materials/Tools Needed:
Shoe Box
Pencils
Markers
Craft paper
Cardboard
Scissors
Elmer’s glue
Spray Paints
Precision Knife/Blade
Step by step:
Get a shoe box, spray paint the interior if you wish and set aside
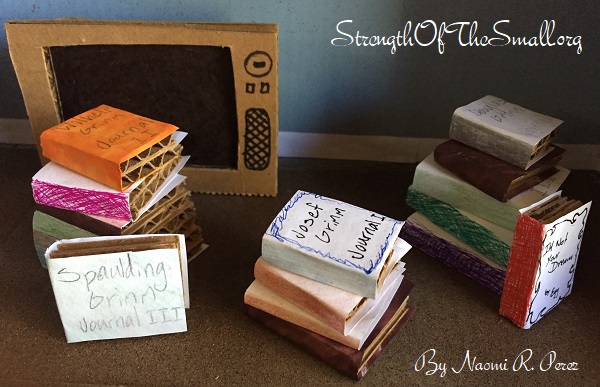
With a scissor or precision blade, cut out small pieces of cardboard and craft paper to make mini books. Use Elmer’s glue to hold the pieces together
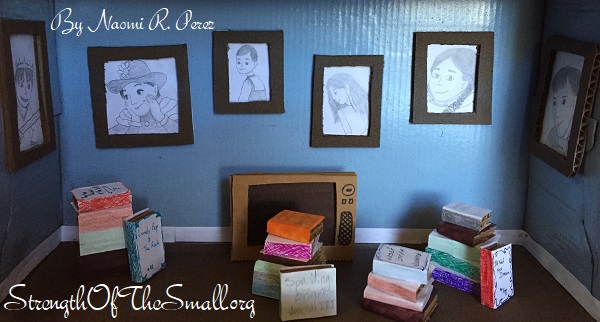
Repeat step two to create picture frame. You can draw the picture on craft paper before or after gluing it onto the cardboard. We found it easier to draw the picture and then glue it
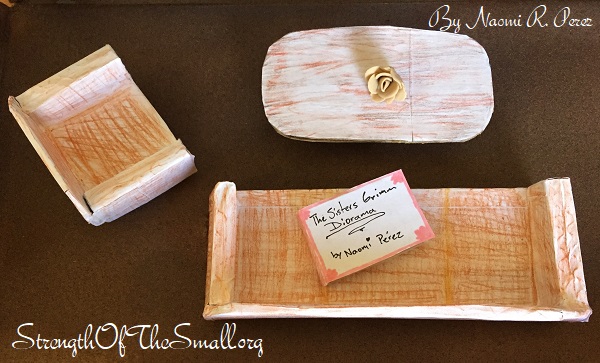
With the precision blade, cut out cardboard pieces to make tables, couches, side tables, etc.
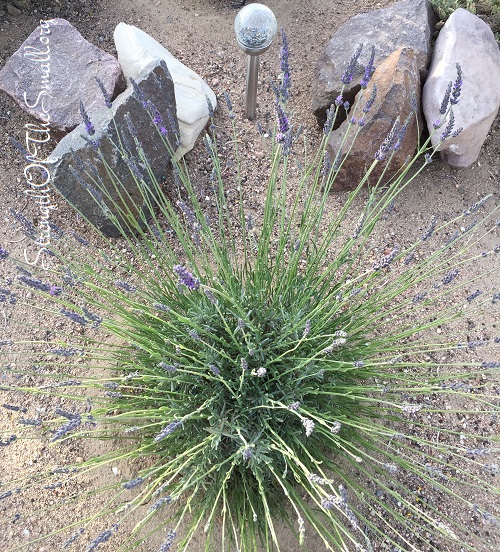
There is something about Solar Lights that makes them attractive. Perhaps is because they come in different shapes, sizes and forms; or simply because they are solar powered. We all hope that once these lights are placed outdoors, they would last a lifetime; sometimes however, they malfunction or stop working all together, especially after being exposed to the elements for many years.
If you love your garden solar lights, they are all worth repairing. Dead batteries, rust from water damage, damaged wiring, bad connections are some common reasons for light failures. Fixing the issues usually involve replacing the batteries, LED, driver circuit, removing the rust, protecting the wires, or simply replacing the solar cells. Lately, some of our solar lights stopped working and it took me just a couple of hours to get them running like new.
Materials Needed:
Solar batteries
Solar battery charger
Wire
Wire Cutters
Pliers
Duct tape
Solar cells
Multimeter (to test the batteries voltage)
Soldering Iron (to solder wires together)
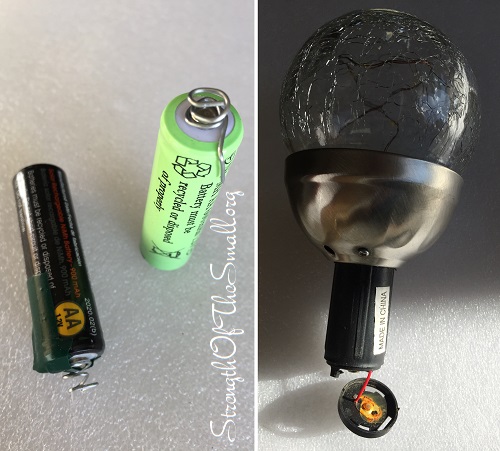
Garden Solar Light Problems.
The issues we had with the Solar Crackle Ball Stake Lights is that some of the connectors were rusted (see picture above). All I did was clean and remove the rust and it turned back on. For others, the batteries were not making good contact with the circuit. All I did was increase the length of the spring by using wire and securing it with tape (as shown above).
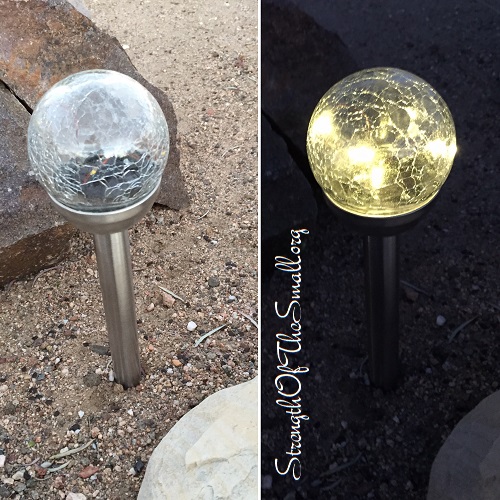
Solar Crackle Ball Stake Lights.
Sometimes during repairs parts get damaged, like the handle below. I was able to create a similar, stronger handle using wire.
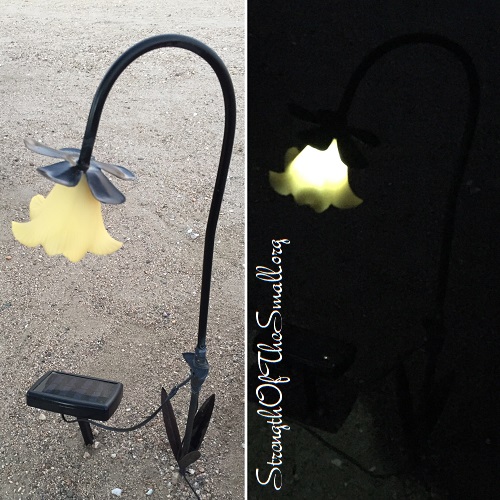
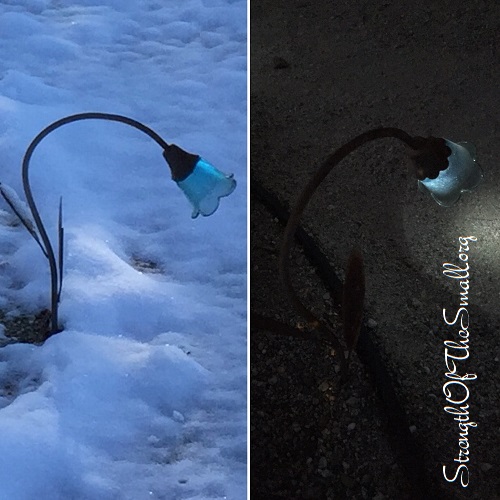
The Solar Powered Lily, Solar Blue Bell, and Solar Orange Art Glass Flowers Lawn Lights below are a few of our oldest solar powered path lights. They have faded significantly and after thirteen years, they stopped working all together. It turned out that their solar cells were damaged. All we did was purchase a few garden solar lights and swapped the solar cells and it solved the problem.
Solar Powered Lily Garden Stakes.Solar Blue Bell Stake Lawn Lights.Solar Orange Art Glass Flowers Path Lights.
In most cases, repairing a garden solar light is quite simple.
Sometimes, you are faced with a fixture that is quite hard to open up or every single part needs replacing. At that point you are faced with either repairing the fixture or just getting rid of it and buying a replacement or something new. In my case, there were a couple of lights that had rusted out due to water damage. I took the internal circuit from a good light and soldered all the wires into the damaged one. It’s usually 2 wires going into the solar cell, 2 wires for the battery and the light/LED that need transferring. I verified it lit up afterwards and put it back together. This process will be troublesome, but if you really like the solar light, then it will be worth it.
I hope this tutorial will help you save your precious solar fixtures.
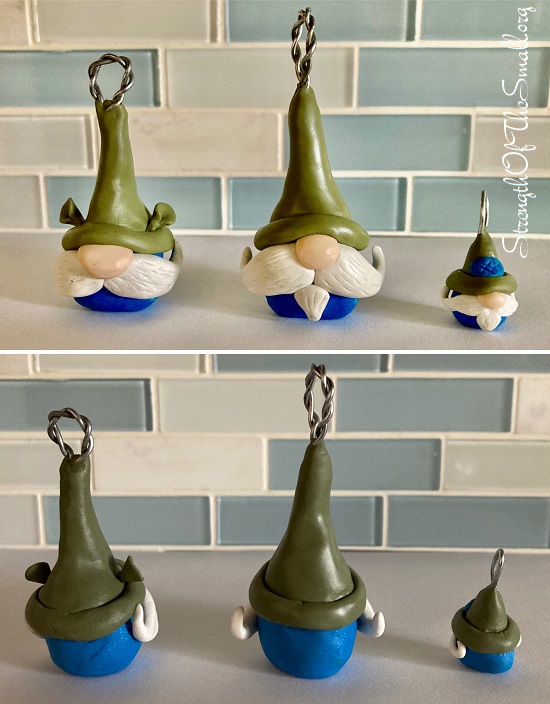
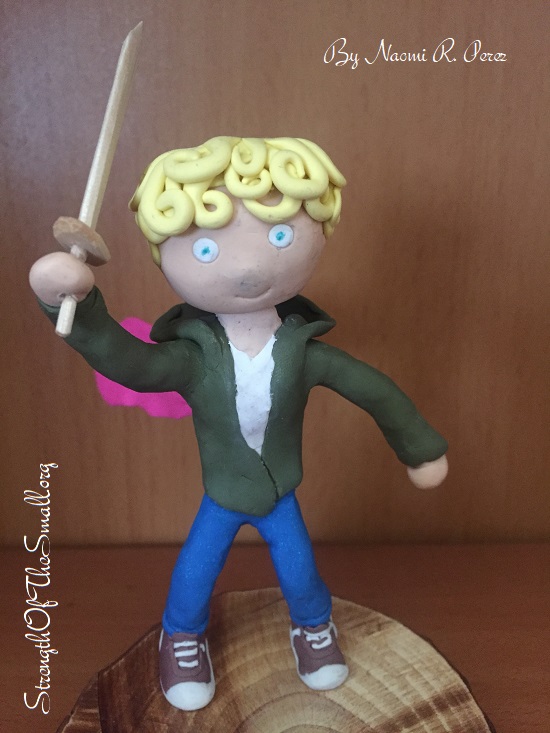
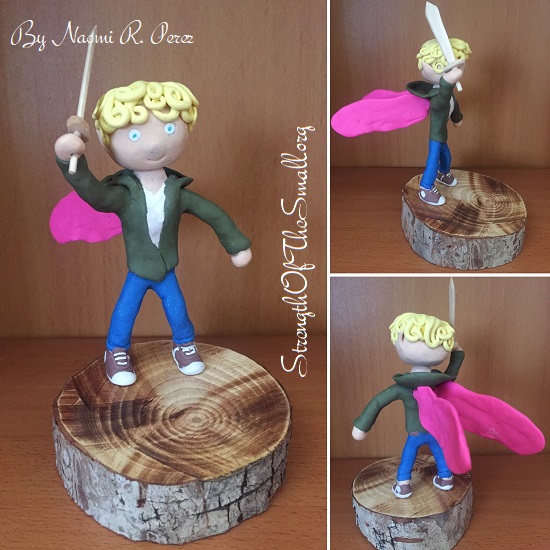
One of my newly found favorite books are The Sister Grimm series. When we were given an assignment last December to make a 3-D Model of the main character of any book of our choice, I immediately thought of Puck, a fairy in The Sisters Grimm series. Puck is a four thousand year old fairy, who decided to remain as an eleven year old boy with a shabby appearance. He is white with blond hair and green eyes, and goes by the alias of The Trickster King. He enjoys pulling pranks on everyone, especially on Sabrina Grimm, and has a huge ego. He thinks of himself as the ultimate villain even though he is kindhearted.
Puck 3D Character.
Materials/Tools Needed:
Clay (assorted)
Aluminum Foil
Wood (to stand the character)
Krazy Glue (to glue the feet onto the wood, wings, and sword)
Wire
Wire Cutters
Pliers (to twist the wire)
Power Drill and Drill Bits (for the holes on the wood)
Popsicle stick (for the wooden sword)
Precision Knife/Blade
Step by step:
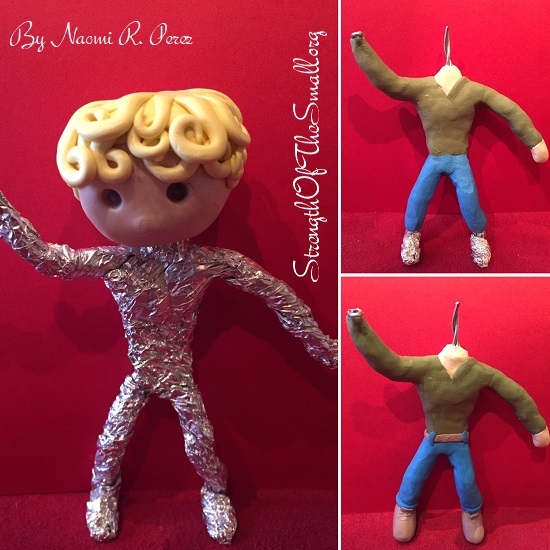
Using a wire, create a stick figure body(without a head)
Cut tiny strips on aluminum foil and wrap around the wire to give it thickness. Try and give it the thickness that you need so that you do not use too much clay
Flatten some clay and start wrapping around the figure (clothes, shoes, and other accessories). We started with the neck area, then the shirt, pants and then hands and shoes. We used the wire exposed at the neck to hold it while applying the clay and shaping it
Shape the head, give it hair, eyes, ears, nose, and stick it onto the wire (neck)
Cut 2 pieces of wire for the wings and wrap them in clay. Leave the tips exposed since they will get inserted into the character’s back and glued in place
Bake in oven for about 25 minutes at 275 degrees F
Let clay cool completely
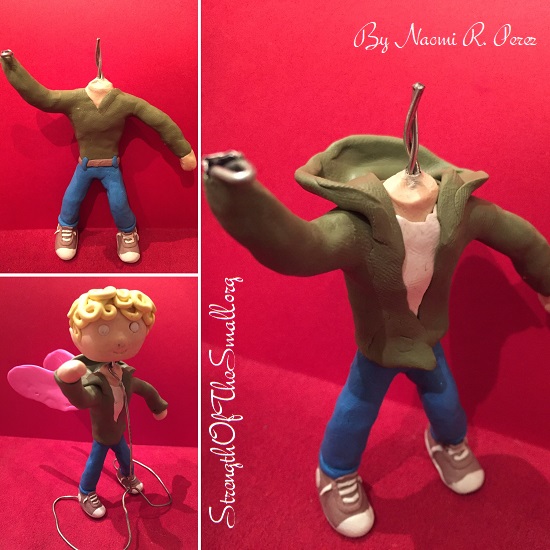
Remove the wire stand and touch up any defects. Make the wooden sword using the popsicle stick and cut to size. We cut the handle and glued the sword on the top part of the hand and part of the hilt on the bottom part to make it look like he is holding it.
Use the drill to make 2 holes onto the wood base, 1 for each leg. Cut 2 small pieces of wire and insert them onto the holes with part of it sticking out. Drill a small hole on the bottom of each foot making sure they align to the base. Apply krazy glue on the wood and set the feet. Hold in place until the glue sets. Do the same for the wings
Puck 3D Character.
The wire holding the character was to help hold all the parts in place while it was baking in the oven (accident prevention).
Puck 3D Character.
The wooden sword and base were placed last, after the baking was completed.
Puck 3D Character.
I enjoy crafting and working with my hands. This was a fun project to do with the help of my family, and the best part was sculpting the hair.