This day wasn’t meant for us
At least, we didn’t think so
This hate crime shouldn’t have happened
We didn’t do anything wrong
You didn’t even know us
Why did you take us away from our loved ones?
You ended our lives.
Our day had just begun
We all gathered for a meal
We didn’t expect it to happen in a temple
Your intrusion took us by surprise
We were not ready to go
You didn’t give us a chance.
You ended our lives.
For a while we were forced to watch our backs
We were threatened
We were victimized and terrorized
We lived in constant fear
Yet, we hoped still
For a change of some sort.
You ended our lives.
We had lives of our own
We were alive and happy
We had duties and responsibilities
We had families and friends
We had dreams too, you know
Which are now just memories …
You ended our lives.
We knew a day would come
A day chosen for us by our Creator
We didn’t expect it to happen today
We didn’t expect it to happen here
We didn’t expect it to be tragic
We didn’t expect it to end by your hand.
On this day fourteen years ago, my sister left the world of mortals.
Jacky was truly one of a kind. She was amazing, smart, available, funny, strong, gentle, kindhearted, open-minded, sensitive, forgiving, and true. She had beautiful big brown eyes and a smile that literally lit up a room. She was a people person and always fought the good fight.
From the moment I became aware, I claimed her as mine: my sister, my friend, blood of my blood. I wanted to be just like her. She was my role model. We prayed, shared, talked and laughed a lot. We fought and argued about everything (I fought just as much with my brothers). At the end of each day, we always remembered that we only had each other. All we had was each other. ‘I had her back and she had mine.’
1997 was a bittersweet year. It was just the two of us against the world and our bond intensified. In a series of letters, I told her how much I loved her and how much she meant to me. She was all I got. We were deeply connected as I could feel her emotions and her mine. She was truly a free spirit in the purest sense of the word. On a beautiful afternoon a year earlier, while conversing in her room, she told me about her past two lives and I was amazed at how much detail she recalled. She encouraged me to practice kindness, especially toward those who hurt me and never to seek vengeance, regardless of circumstances.
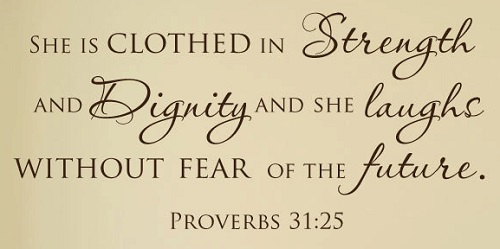
“She is clothed in strength and dignity, and she laughs without fear of the future.” — Proverbs 31:25 (NLT).
Though physically gone, she is closer than ever before. Her spirit has not left my side. Like a soldier, she’s on standby; patiently waiting for instructions. I have called upon her for strength and she has comforted me. In my times of anxiety she’s the second best thing after my Lord and Savior Jesus Christ. We’ve all heard of guardian angels and it is said that we each have one. I am grateful, blessed to have met and walked the Earth with mine. I claimed her with a pure heart and the Lord made her mine.
“To all who mourn in Israel, he will give a crown of beauty for ashes, a joyous blessing instead of mourning, festive praise instead of despair. In their righteousness, they will be like great oaks that the Lord has planted for his own glory.” – Isaiah 61:3 (NLT)
“Claim your loved ones in Jesus name so that their path will be true and safe.” — Joan Ambu
When my husband and I were looking to buy a house, we both agreed on a small backyard (less maintenance). However, we instantly fell in love with a smaller house our realtor showed us. Five years later, living in the High Desert of CA, we have never loved having a huge backyard more and enjoy a quieter lifestyle.
Of course, we have a lot of Weeds growing and we also have to deal with Gophers and Ground Squirrels, which can be quite overwhelming. Thankfully with patience, available tools, techniques and a willing mind – we turned it into a fun, relaxing, beautiful and inviting space.I have a few criteria before I purchase plants. They have to be evergreen or semi-evergreen; adaptable landscape plants and definitely have to withstand heat/dryness and cold-hardiness. Last but not least, appealing to the eyes.
1. Red Autumn Sage – Drought resistant with long period of bloom.
2. Common Broom – Erect shrub with bright yellow flowers in spring and summer.
3. Lindheimer’s Beeblossom – Perennial with white flowers, light pink/pink.
Ornamental Grasses: Add charm to landscapes.
1. Purple Fountain Grass – Reddish leaves and colorful flowers.
2. Elijah Blue Fescue Grass – Remains blue throughout the year.