Kids Craft

Snow Lady Decorating Project

JM Perez By JM Perez1 min read670 views

On cold days like these I am grateful for fun projects and activities to keep kids busy.

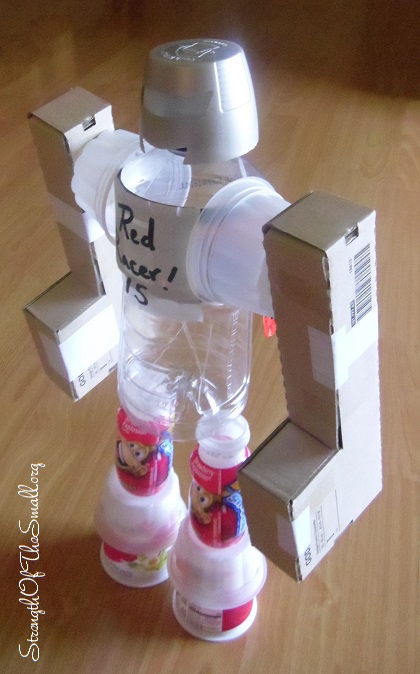
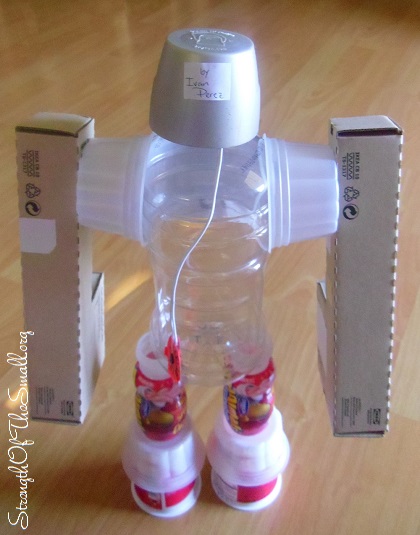
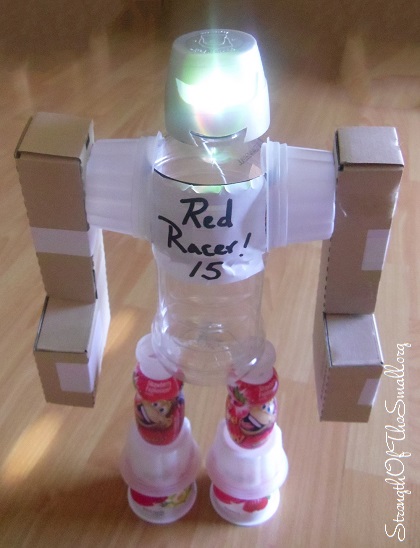
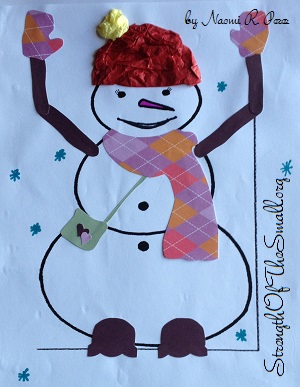
Today we worked on my daughter’s third decorating project and we all teamed up to help her decorate her “Snow Lady,” as she calls it. Here‘s my son’s project from three years ago.

Snowman Decorating Project.
“Snow Lady” Decorating Project.

Materials/Tools Needed

  • Scissors
  • Scrapbook Scissors
  • Gift Bag Tissues
  • Crayons/Sharpie Markers
  • Elmer’s glue
  • Scrapbook Paper/Construction Paper

We had so much fun decorating her Snow Lady and getting her ready for display at school tomorrow.

DIY: Desert Diorama

JM Perez By JM Perez2 min read5.1K views

For their first month of school, the second graders project is taking the students to the Ocean or Desert. They were asked to create a scene using a Poster, a Diorama or creating a PowerPoint presentation about their subject.

My Son choose to make a diorama showcasing a few Desert Animals in their habitat.

Desert Animal Diorama.

Materials/Tools Needed

  • School Glue
  • Hand drawn scenes
  • Scissors
  • Synthetic Desert Plants
  • Stones
  • Craft Moss
  • Sand
  • Box (we used a Swiffer Sweeper Wet Refills Box)
  • Desert Toy Animals (or cutouts from drawings or Magazine)
  • Markers
  • Glue Gun and Glue Sticks

Step by Steps:

  • Decide on the scenery you want for your background, draw directly on your box or on a paper and then glue onto the box.
  • Figure out the placement of the Animals and Plants.
  • Generously apply school glue at the base of your box. Randomly place your stones and then sprinkle some sand and let it dry.
  • Apply some glue around the stones for the Moss.
  • Let it all air dry for a day and enjoy.
Desert Animal Diorama.

Our Scenery consists of a Desert Scorpion, Road Runner, Horned Lizard, Coyote, Rattle Snake and a Ground Squirrel which are all Desert animals and which are local to our surroundings. We got to learn what these animals eat, their favorite habitat preferences and the way they affect their ecosystem by their existence.

Our second grader had so much fun researching each animal and picking the facts he believed to be important for others to know about each animal. We hope you and your little ones will have as much fun as we did building this project.

Have fun and enjoy!

DIY: Ocean Diorama

JM Perez By JM Perez1 min read2.8K views

For their last month of school, the first graders project is taking the students to the Ocean waters. The kids were asked to allow their imagination go wild and create their own Ocean scene in a box.

Ocean Diorama Project.

Materials/Tools Needed

  • Cardboard
  • Hand drawn scenes
  • Blue Construction Papers
  • Scissors
  • Synthetic Plants
  • Stones
  • Fish cutout (from drawings or Magazine)
  • Card stock
  • Markers
  • Glue Gun and Glue Sticks
  • Fishing Wire

Step by Steps:

  • Decide on the shape of box you want.
  • For background, draw a scene on a blue construction paper, cut it out then glue inside box.
  • Draw Sea creatures on paper, cardboard or simply cut out shapes out of magazines.
  • Use fishing wire to make free-floating fish by taping them to the top of the box and the body of the fish.
  • Hot glue the stones and synthetic plants on the floor of the diorama.

It was another fun project which my Son completed with the assistance of his Father and Sister.

DIY: RecycleBot

JM Perez By JM Perez1 min read2.5K views

This Month at my Son’s Elementary School, they are learning about recycling and taking care of the Planet. The kids were asked to make a RecycleBot out of any materials such as cans, boxes, bottles (glass and/or plastic), bottle caps, cardboard, electronics, metal, paper, eggs cartons, etc.

After looking around the house, he found a few recyclable materials that would work for his school project.

RecycleBot (Front).
RecycleBot (Front).
RecycleBot (Side).
RecycleBot (Side).

My Son found a small LED light that changes color at Kohl’s and has a wire attached to it with a switch at the end, to turn it on momentarily (pictured below).

RecycleBot (Back).
RecycleBot (Back).
RecycleBot (Front).
RecycleBot (Front).

Materials/Tools Needed:

  • Yogurt Cups
  • Ice cream Cups
  • Cardboard Pieces
  • Fishing Wire
  • Sports Drink Container
  • Spray Paint Cover

It was such a fun project which my Son completed with the assistance of his Father.

3D Penguin Project

JM Perez By JM Perez1 min read1K views

Today my Son and the entire School are celebrating the 100th Day of School.
We were asked as a Family to create a 100th Day Project and turn it in today to be shared and displayed in my Son’s classroom. The Project was to incorporate 100 objects in a creative way.

These past weeks, my Son has been learning about Penguins at School and I suggested we do something with a Penguin. After looking at various pictures, my Son choose the one he liked best and my husband drew a Penguin on a cardboard and began making cutouts for the parts we needed for the 3D Penguin. After positioning and gluing all the parts, we traced 100 feathers with a pencil and highlighted the edges with Glitter Glue and finally, we glued the Penguin onto a slightly larger piece of cardboard.

All you need for this project is Elmer’s Glue, Glitter Glue, Cardboard, Scissors, Pencil and Markers.

3D Penguin Project (100 Day of School).

It was a fun little project we all enjoyed working on.