Kids Craft

Turkey Decorating Project

JM Perez By JM Perez1 min read635 views

Early this week Ivan came home with a project that involves the whole family. Along with his weekly homework, he was given a plain drawing of a Turkey. As a family project, we were asked to decorate the Turkey using whatever we wanted. After making a few suggestions, he decided to proceed with Cereal (for the feathers, caruncles and wattle), Crayons and a button (for the eye). Though time consuming, it was more fun than we thought it would be.
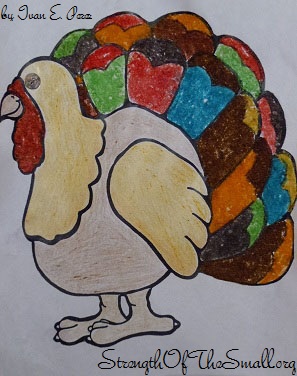
Turkey Decorating Project.

The project was then displayed at school for a couple of weeks and then returned to the students.
DIY: Mummy Pumpkin

EPEngineer By EPEngineer1 min read535 views

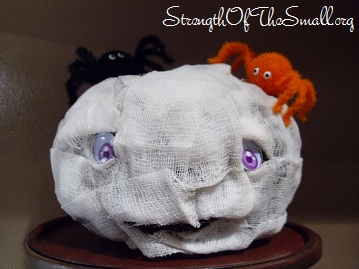
After much deliberation on which craft to make, we decided to make a Mummy Pumpkin.

Materials Needed:

  • Pumpkin
  • First aid gauze/Toilet Paper/White duct Tape/White linen
  • Googly Eyes/Draw your own eyes
  • Black sticky back craft foam (for the mouth)
  • Scissors/ Crafts knife (to carve out the mouth)
  • Craft Glue/ Hot glue Gun (for the eyes)
  • Toilet Paper Roll/Vegetable can (for body, if desired)
  • Q-tips/Straws/Toothpick/ Wooden Skewers (for arms, if desired)

All we needed for our Mummy Pumpkin was a Grapevine Pumpkin, First aid gauze, and a pair of Googly eyes.

Mummy Pumpkin.

Step by step:

  1. Wrap the gauze around the pumpkin, leaving a few openings for the eyes and the mouth. Tuck the other end in. Some people glue one end of the gauze to the pumpkin as well as the other; I just wrapped away, loosely.
  2. Carefully place googly eyes

For a creepier effect you could use different eyes and red paint to randomly give it a bloody look.

DIY: LEGO Robot

JM Perez By JM Perez1 min read1.3K views

I am so in love with my children; they are both very smart and creative. When they are not reading, drawing, sight seeing and sometimes helping me garden; they spend their time building LEGO figures.

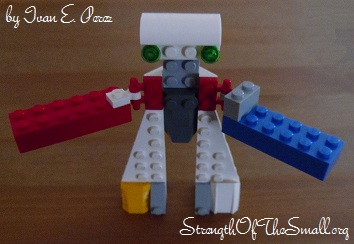
LEGO Robot.

After returning from school today, in very good spirit as usual, he surprised us with his creation, which he is very proud of. He’s built over figures in the past, which have evolved over time and which I will share as soon as I get a hold of the pictures.

Other Fun Creations:

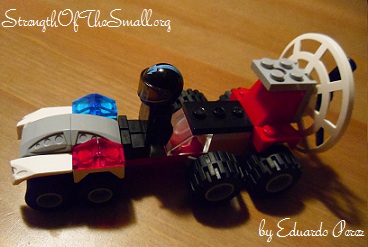
LEGO Racer.
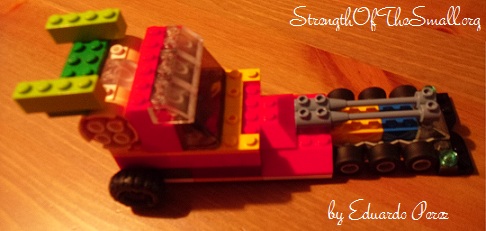
LEGO Desert Racer.

DIY: Sheep Craft

EPEngineer By EPEngineer2 min read921 views

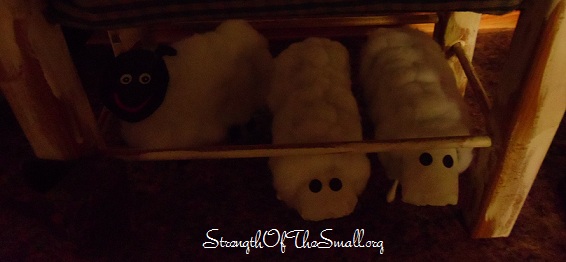
We treasure weekends in my home as it is our moment to unwind and let our creativity go wild. After bike riding around the block, we decided to work on some crafts with the kids. From all the creations we made, they enjoyed the Sheep Crafting the most and we had so much fun making them. I am sharing the tutorial with you and hope you enjoy making them as much as we did. This are some of the little things I refer to as “Strength of the Small.” They move me and I respond positively.

Materials Needed:

  • Construction Paper/ Toilet Paper Roll (for body, head, ears, eyes, nose and/or legs)
  • Styrofoam Balls (for head)
  • Googly Eyes
  • Scissors
  • Cotton Balls
  • Q-tips/Straws/Toothpick/ Wooden Skewers (for legs)
  • Craft Glue
  • Yarn (for mouth)
  • Wrapping Paper/Tissue Paper/Toilet Paper (for face)
  • Sharpie Marker (for eyes, mouth)

Step by step:

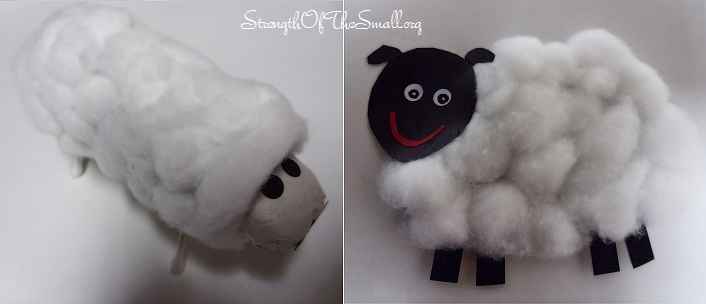
  1. In the absence of toilet paper roll, cut out a rectangular piece of paper and roll it to form the body of the sheep or use a white construction paper to cut out the body shape.
  2. Use a black construction paper to trace the faces and legs and then cut out the pieces or either glue a styrofoam ball onto the body or insert a tissue paper through the toilet paper roll to form the face.
  3. Make 4 holes on the body to pass the q-tips/wooden skewers through and glue them to form the legs.
  4. Apply glue onto the body and cover it with cotton balls
  5. Glue the googly eyes or use a sharpie marker to trace the eyes and mouth. You could also use a yarn or a cut out for the mouth, ears, and nose and glue them on the sheep’s face.
  6. Use your sharpie markers to add colors

Based on the picture of the sheep you’re trying to make, follow the steps that apply to you.