When we inspected our Home a few years ago prior to putting in an offer, I fell in love with the backyard as the numerous structures on the lot broke the land into sections. As I looked onto the side of the house, I spotted a semi-shady corner which was ideal for a Playground and/or a Kid-Friendly Garden.
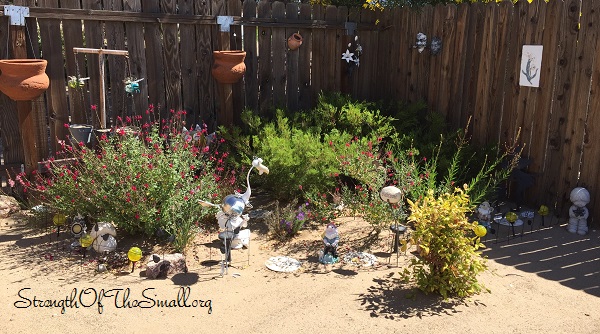
Five years ago, I started by creating a tiny corner garden and added a decorative wrought iron border fence around the garden as well as some color changing solar globe lights along the borders. The selection works well, as it provides a specific learning and playing area for our children. I added two comfortable sitting areas for them to sit still and enjoy conversing, enjoy the day, or for us to relax and watch them play. I have Garden Benches and Patio/Bistro Sets all over my garden as the yard is huge and it can be quite exhausting walking around sometimes. I enjoy retreat areas. Besides, sitting areas in a yard, if placed correctly, create attractive focal points.
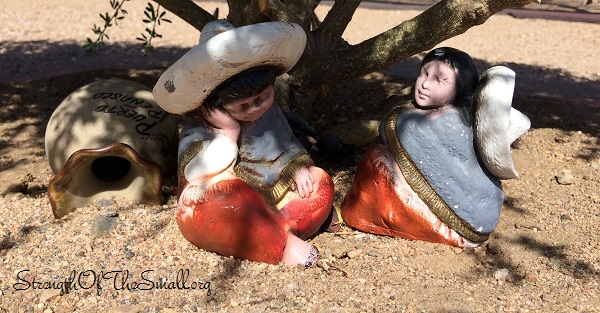
A few years ago, I was given a beautiful hand made miniature vintage Mexican clay couple as well as a tiny Puerto Peñasco Pottery Vase. They are now resting underneath one of my Scotch Broom shrubs.
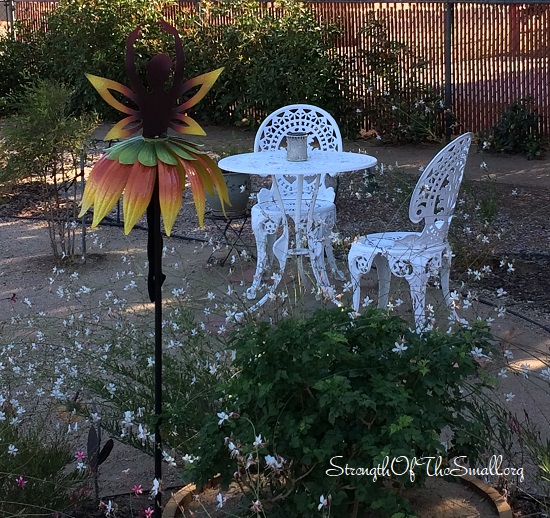
The fairy wind spinner is a purchase from Collections Etc., and a gift to my daughter who adores anything fairy and ballerina. It’s a beautiful addition to our front yard as it attracts hummingbirds and twirls in the breeze.
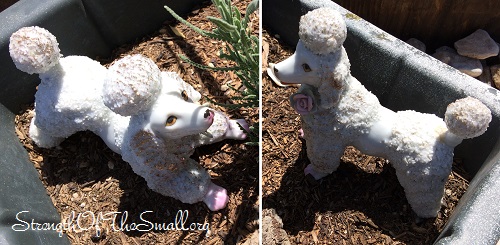
Somewhere in my backyard, we created this cute little area in memory of our wonderful neighbors and parent figures (one of whom is no longer with us). The picture features their wedding wine glasses, vintage 1960’s spaghetti porcelain poodle dog figurines and a porcelain ornaments box. The huge rustic fisherman metal art was a purchased from Horseshoe Art by Don Henry in Lucerne Valley, CA.
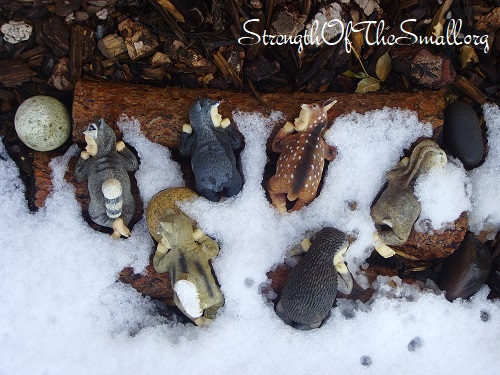
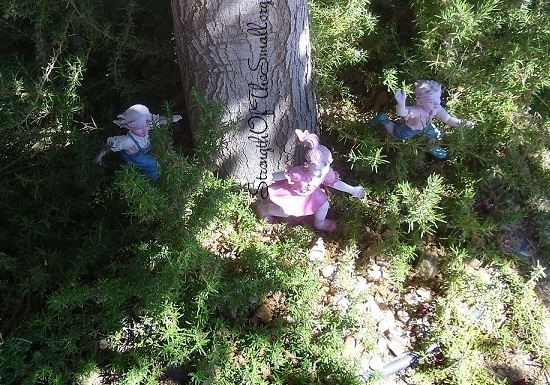
We love our Woodland babies!
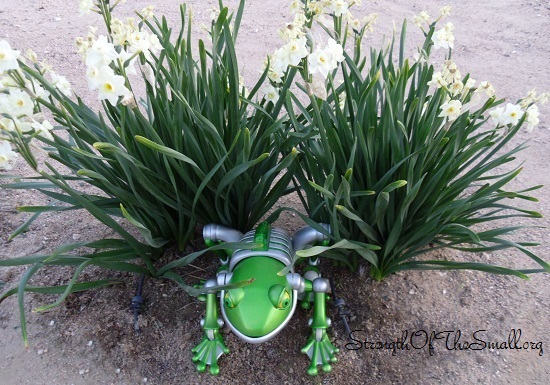
The toy frog was a favorite of my son. He placed it himself among the daffodils when he no longer wanted it.
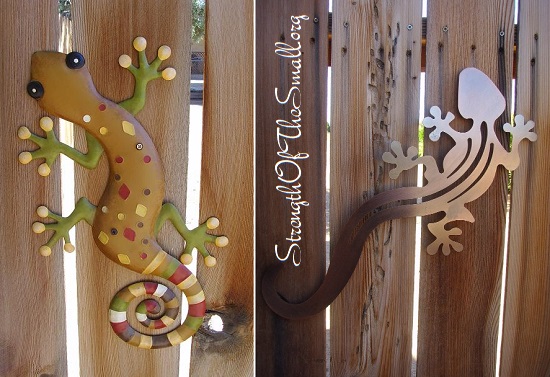
Geckos Metal Wall Art
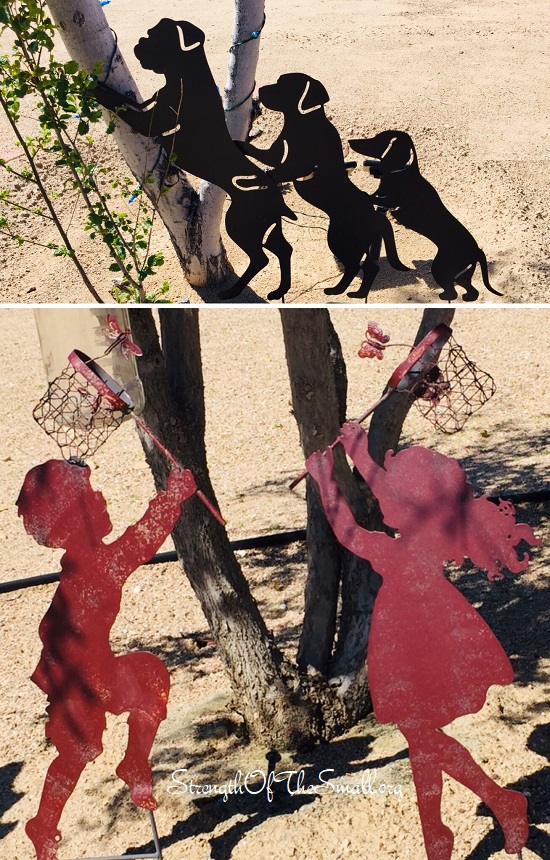
The children at play figurines were also a purchase from Collections Etc.
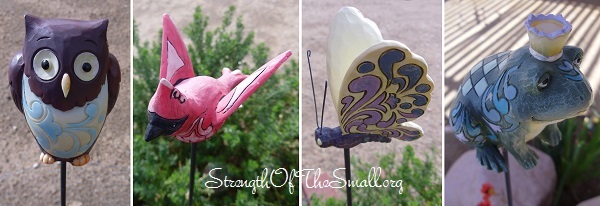
Some Jim Shore garden stakes.
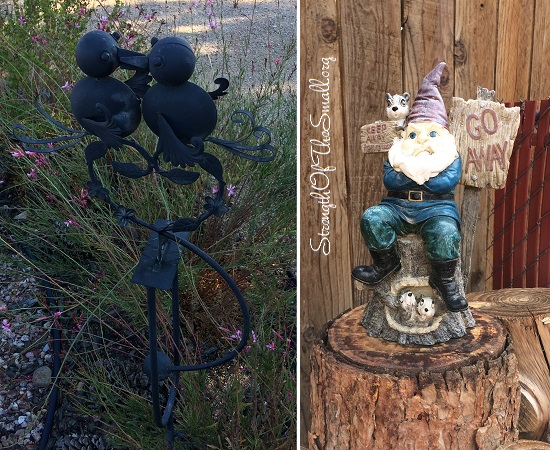
The balancing love birds stake is in the front yard, next to the water fountain. It gently swings back and forth in the breeze. The Angry Gnome is one of many in our gnome collection.
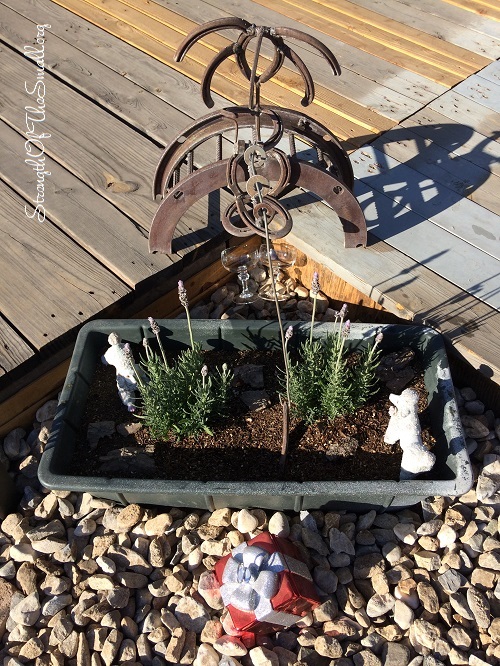
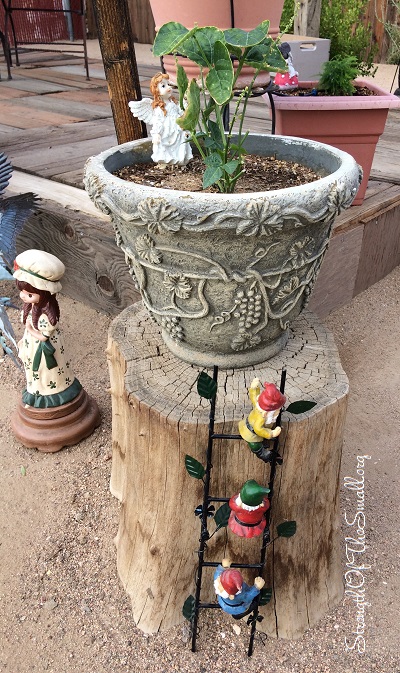
These Gnomes on a Ladder are eager to find out what is growing in my daughter’s planter.
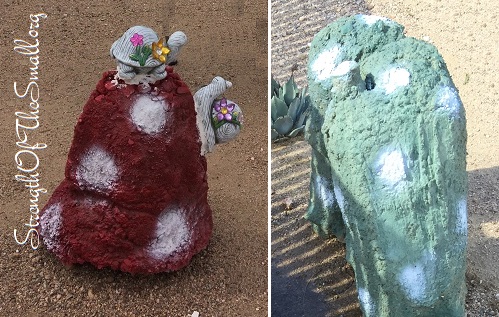
The stone mushrooms were the bases of chain linked posts that were dug up, flipped up side down, and buried. We spray painted them red/green and added white spots.
The Conga Line Dog Silhouettes were so hilarious that I decided to get one. The Children Chasing bugs are adorable too.
One of my daughter’s favorite statues is the Little Girl Gardening statue below. She found a use for the tiny planter.

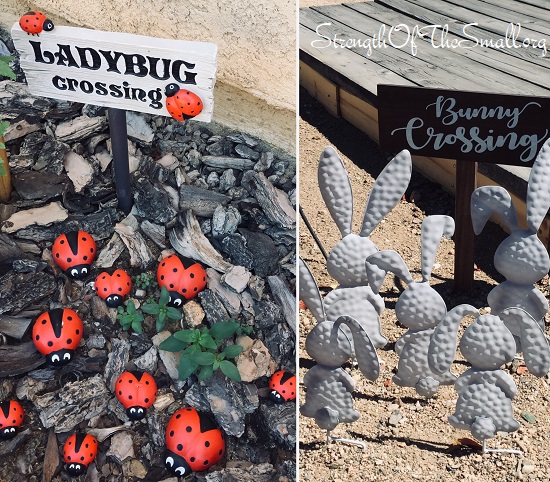
Every time I shop online, my kids look for an opportunity when I step away to add a few favorites of their own in the shopping cart. The Ladybugs are beautiful and the Bunnies are just perfect for Easter.
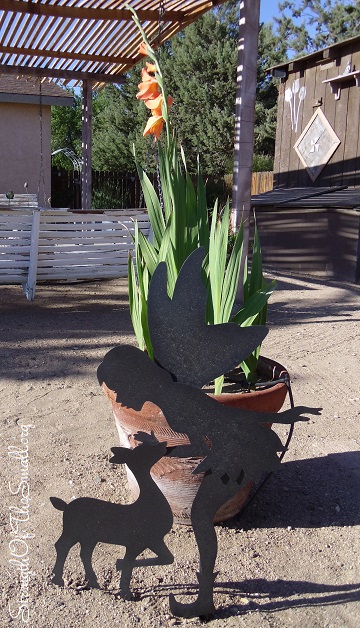
The Fairy and Deer Friend Shadow Garden Stake is one of my favorite.
There are unlimited ideas and ways to encourage kids to go out …


 2.
2.  3.
3. 
 .
.
 3.
3. 


